Managing departments
Departments allow you to model company departments, business units, or project teams within Kyndryl Cloud Uplift. With department monitoring and limits, you can:
- Create usage limits to cap the amount of storage, RAM hours, or concurrent RAM that department users can consume; this can guarantee that Kyndryl Cloud Uplift resources remain available to critical departments.
- Create usage reports to track and charge-back usage by each department.
Each user can belong to one department.
Your company account can have up to 100 departments.
Contents
Creating a department
To create a department
-
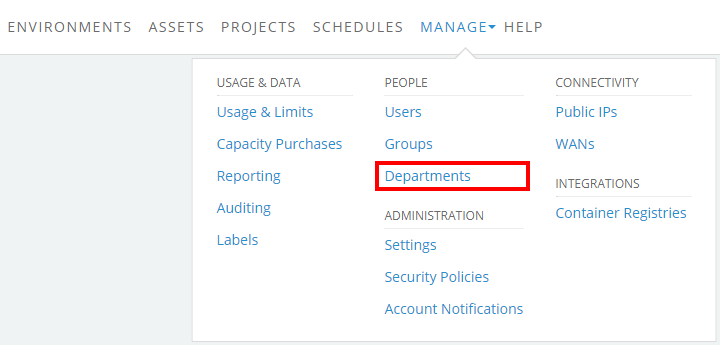
Click Manage > Departments.
The Departments page displays.
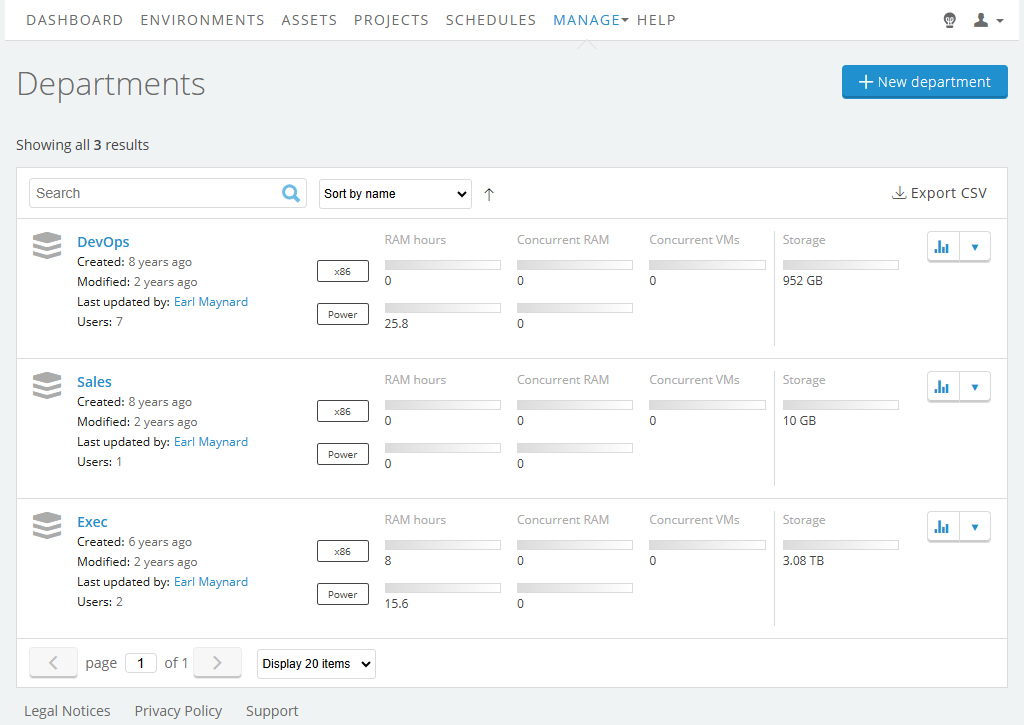
- Click New Department.
-
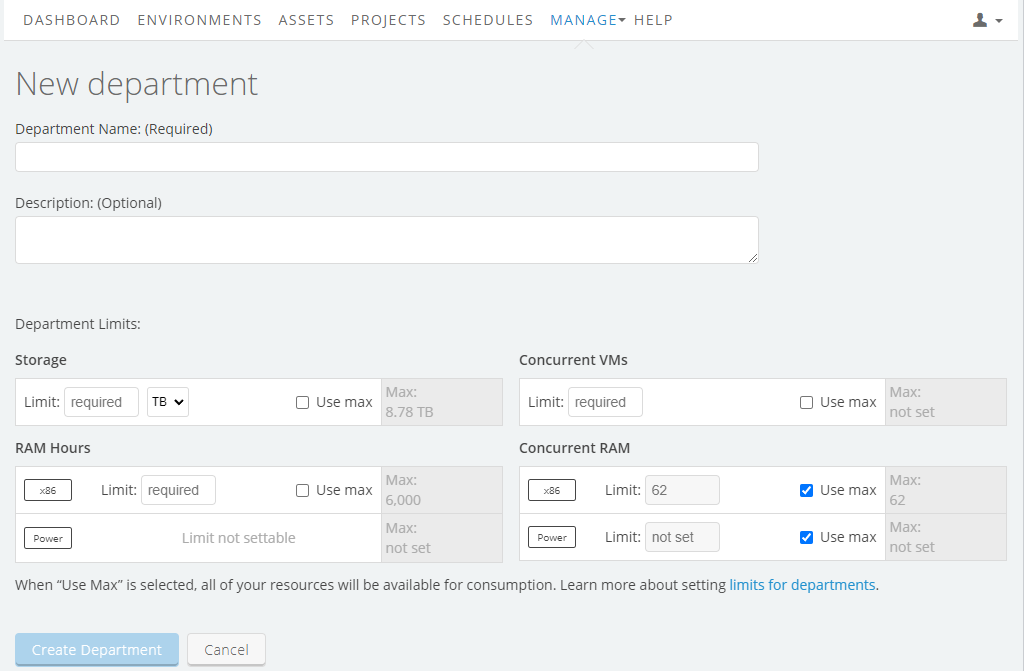
The New Department page displays. Enter a Department Name.
-
Optionally type a department Description.
-
Set usage limits for Storage (choose GB or TB), RAM hours, Concurrent VMs, and/or Concurrent RAM. To set no limit, select Use max. When Use max is selected, the department can use up to the account limit for the billing period; the account limit is displayed in the Max: field. To learn more about limits, see Usage limits overview.
- Click Create Department.
-
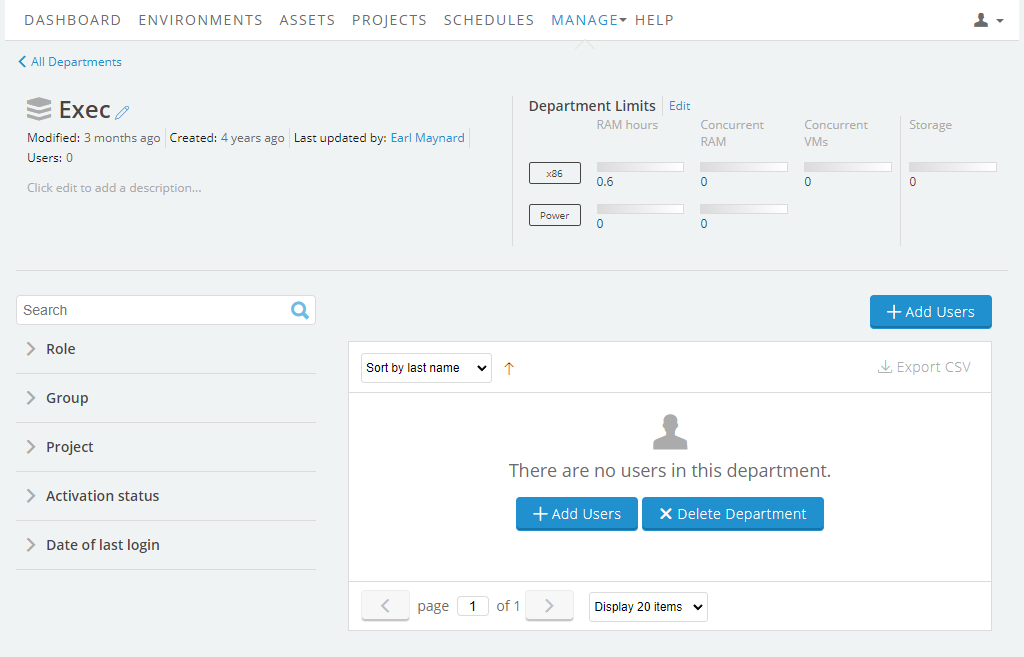
Departments are empty when you create them. To add the first set of users, click Add Users.
-
The Manage Department Users window displays all of the users in your account. You can filter this list or use the Search bar to find individual users. To add a user, click the Add button to the left of their name.
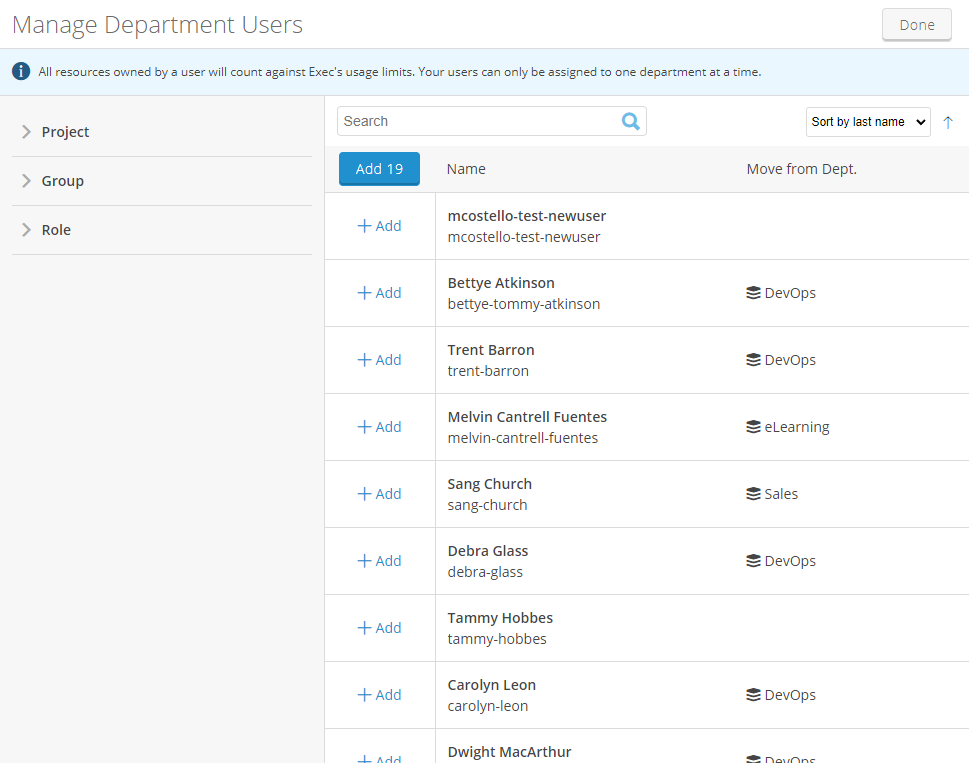
The current department for a user (if any) is displayed to the right of the user name. Adding a user who is already in a department moves the user out of an existing department into the new one.
- Click Done.
Editing departments
Adding users to departments
There is no limit to the number of users a department can have. However, each user can belong to only a single department.
To add users
-
Navigate to the Departments details page.
-
Click Manage > Departments.

The Departments page displays.

-
Click the name of the department.
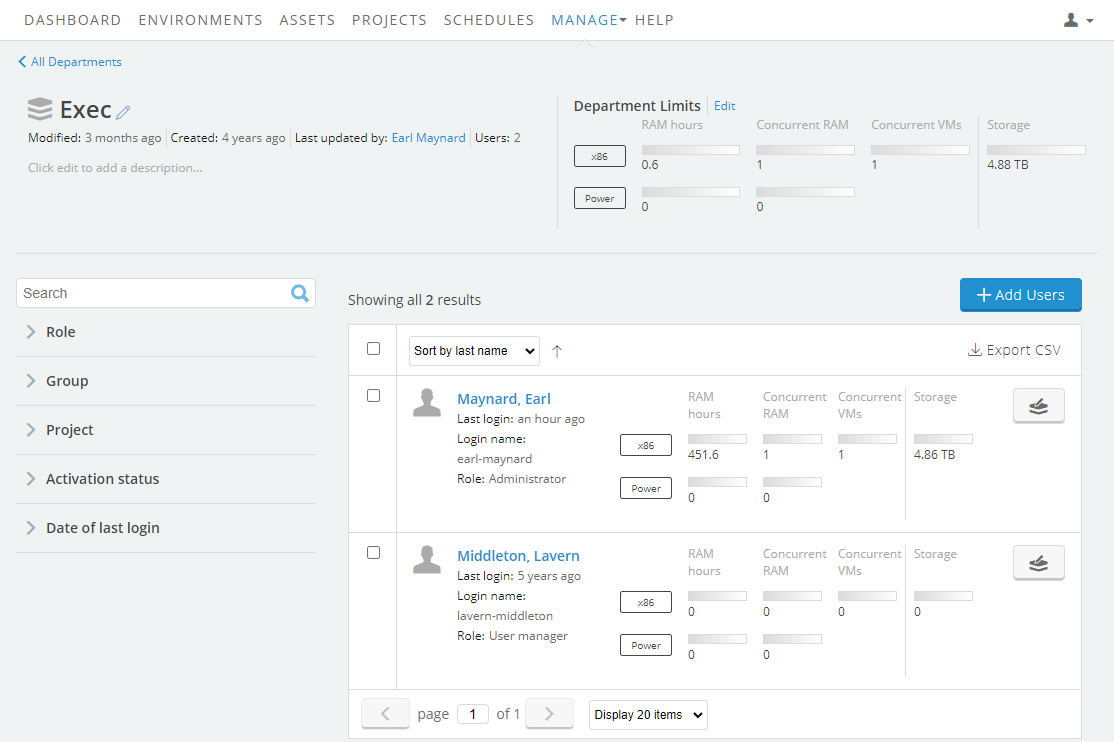
The details page for that department displays.
-
- Click Add Users.
-
The Manage Department Users window displays all of the users in your account. You can filter this list or use the Search bar to find individual users. To add a user, click Add to the left of the user’s name.

The current department for a user (if any) is displayed to the right of the user name. Adding a user who is already in a department moves the user out of an existing department into the new one.
- Click Done.
Removing users from departments
To remove a single user from a department
-
Navigate to the Departments details page.
-
Click Manage > Departments.

The Departments page displays.

-
Click the name of the department.
The details page for that department displays.

-
- Click
 Edit Department to the right of the user name
 - In the Edit Department window, reassign the user to a different department or select None (Not Assigned to a Department).
To remove multiple users from a department
-
Navigate to the Departments details page.
-
Click Manage > Departments.

The Departments page displays.

-
Click the name of the department.
The details page for that department displays.

-
- Click
 Select.
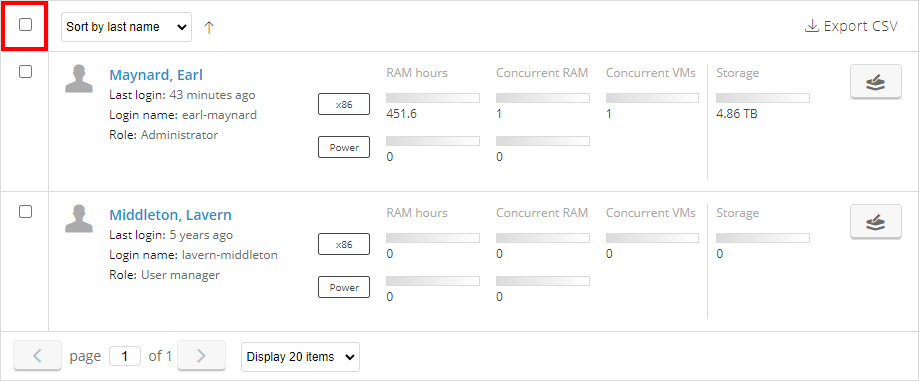
- Select the users you want to remove.
- Click Change Department.
- In the Edit Department window, reassign the users to a different department or select None (Not Assigned to a Department).
Editing department usage limits
See Setting department usage limits.
Running reports on departments
For instructions about how to generate department reports, see Generating department reports.
Deleting a department
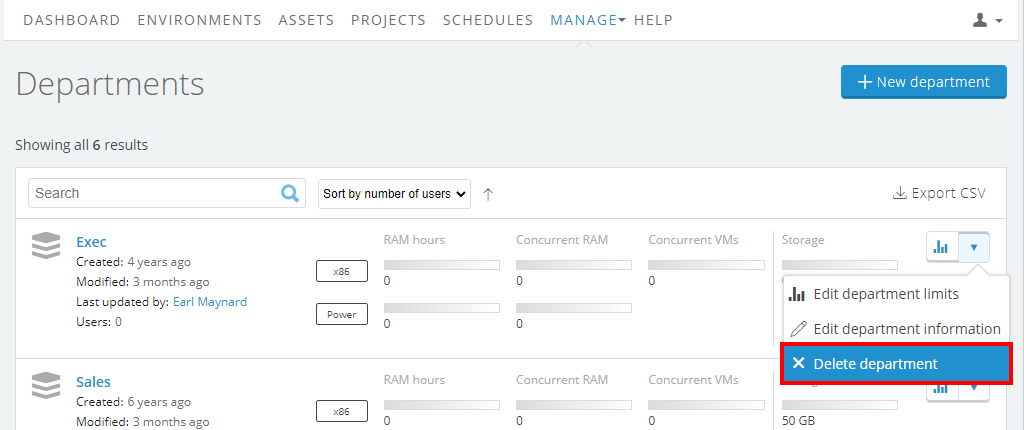
Before you delete a department, you must remove all of its users (either by assigning them to a different department, or by assigning them to no department). For instructions, see Removing users from departments.
To delete a department
- Navigate to Manage > Departments.
- Click
 (More options) next to the department you want to delete.
 - Click Delete Department.
