Creating a VPN connection
Kyndryl Cloud Uplift Virtual Private Networks (VPNs) use the IPsec protocol suite to create a secure network tunnel between Kyndryl Cloud Uplift virtual networks and external networks, like your corporate network or a network from another cloud service provider.
For example, you can use a VPN to connect virtual environments to your corporate intranet; this would give your virtual data center access to corporate resources (such as databases, source repositories, and builds).
Your customer account can have up to 10 VPNs or Private Network Connections connected at the same time. If you need additional VPNs or Private Network Connections, contact your Kyndryl Cloud Uplift sales representative.
Contents
Before you begin
Before you begin, you’ll need:
- An administrator account in Kyndryl Cloud Uplift.
-
The configuration parameters for the network appliance that Kyndryl Cloud Uplift needs to connect to.
For example, to connect your Kyndryl Cloud Uplift account to your corporate network, you need configuration parameters for your corporate network endpoint device from your IT organization.
-
An unattached Kyndryl Cloud Uplift static public IP address.
A static public IP address is used as the Kyndryl Cloud Uplift peer IP address for the VPN connection.
For instructions, see Adding a static public IP address to your account.
If you don’t have public IP addresses, contact your Kyndryl Cloud Uplift sales representative.
Creating and configuring a VPN
To create a VPN
-
From the navigation bar, click Manage > WANs.
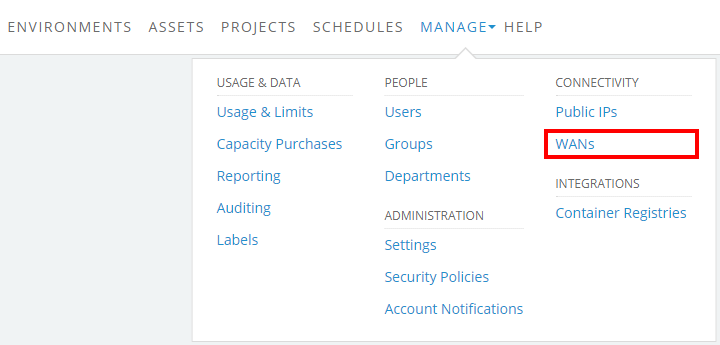
The WANs page displays.
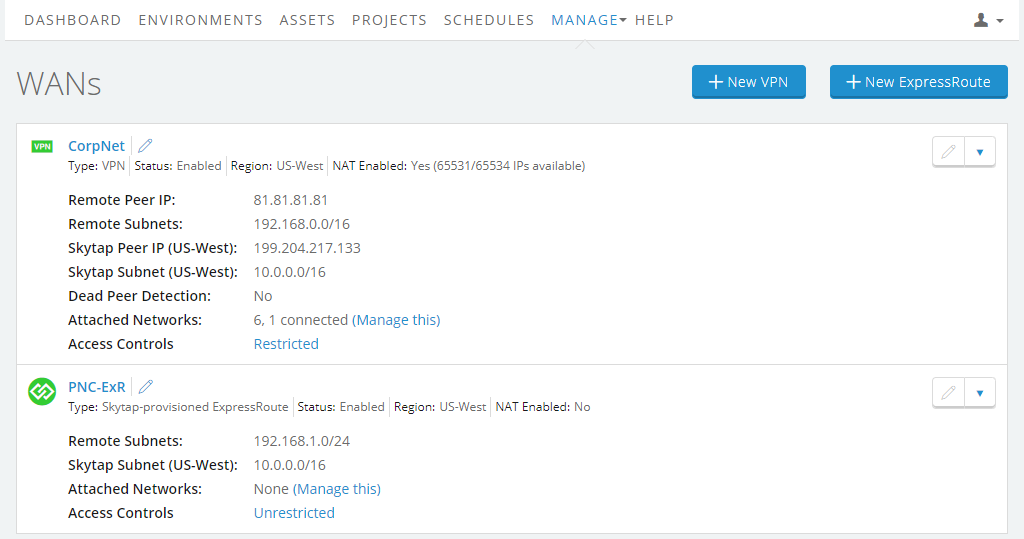
-
Click New VPN. The New WAN page loads.
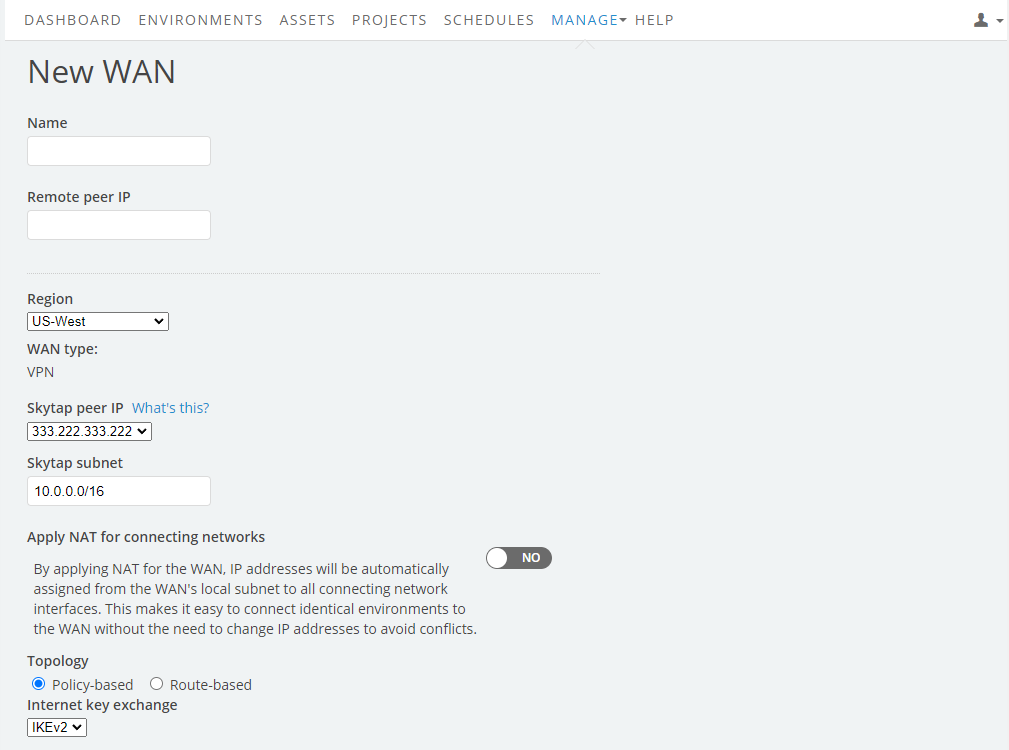
- Enter a Kyndryl Cloud Uplift static public IP address as the Kyndryl Cloud Uplift peer IP.
-
Enter the remaining VPN configuration parameters based on the settings of the remote VPN endpoint to which you’re connecting.
Notes
- The Phase 1 pre-shared key must be entered in plain text. If you later edit the Private Network, the current key isn't visible.
- Double-quote characters (") aren't supported in pre-shared keys.
- To assign NAT IP addresses to any VMs connected to the VPN, select Apply NAT for connecting networks. This setting allows you to connect Kyndryl Cloud Uplift environments with overlapping IP addresses to the VPN. For more information, see Apply NAT for connecting networks in VPN configuration parameters.
- Enter the Kyndryl Cloud Uplift public IP address as the Remote peer IP on the external network VPN endpoint (for example, a network device on your corporate network). Depending on your level of access, your IT organization may need to do this for you.
- Click Save. The Details tab displays the details of the VPN you just created.
-
Add at least one included Remote Subnet. Optionally, you can also add remote subnets to exclude. Included remote subnets can’t overlap with restricted subnets or the Kyndryl Cloud Uplift subnet defined in the VPN settings. For more information, see Remote Subnets settings.
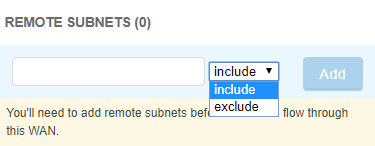
-
Enter a subnet range in Remote Subnets.
Notes
- The supported remote subnets are within the 3 to 32 bits range, as well as the default subnet 0.0.0.0/0.
- The remote VPN router must be configured to accept the default route.
- Kyndryl Cloud Uplift supports route narrowing only for IKEv2 VPNs.
- Select include or exclude.
- Click Add.
-
- Test the VPN.
-
Connect your Kyndryl Cloud Uplift networks to the VPN.
You must attach a network with a running VM to establish a VPN connection, otherwise the VPN will be inactive.
-
Click Enable to begin sending traffic through the VPN.

- (Optional) Add Private Network Access Controls to limit the users, groups, or departments that can attach environments to the VPN. For more information, see Configuring access to a VPN.