Using Single Sign-on (SSO) with Azure Active Directory (AAD)
Kyndryl Cloud Uplift supports federated authentication via SAML 2.0 single sign-on (SSO). When SSO is enabled for your account, users can automatically sign in to Kyndryl Cloud Uplift after being authenticated by Azure Active Directory, which serves as the Identity Provider (IdP) for SSO.
This document describes how to enable SSO for your account, how to create SSO users, and the sign-in and authentication process.
You must be an account administrator to perform most of these actions.
Contents
Managing account-wide SSO settings
Enabling single sign-on (SSO) in Azure Active Directory (AAD)
Before you begin, we recommend that you create and use a separate user account that is enabled for SSO, rather than enable SSO on your primary administrative account. This way, if the SSO test fails, you won’t be locked out of your administrative account.
For detailed instructions about configuring Azure Active Directory to integrate with Kyndryl Cloud Uplift, see Tutorial: Azure Active Directory integration with Kyndryl Cloud Uplift.
During the AAD setup process, note the following settings:
| Setting | Value |
|---|---|
| Identifier (Entity ID) | PingConnect |
| Unique User Identifier | user.mail |
One-time setup: Enabling SSO for your Kyndryl Cloud Uplift customer account
To enable SSO for your Kyndryl Cloud Uplift account
-
Email support@skytap.com with the following information:
Setting or file Description Entity ID The unique string used to identify AAD to Kyndryl Cloud Uplift. Provided by Azure. Signing Certificate The certificate that lets Kyndryl Cloud Uplift verify that information sent by AAD is genuine and originated from AAD. SAML Metadata The SSO configuration details. This can be uploaded as a file, or sent as a URL that links to a file. IdP Login URL The URL that users are redirected to for authentication. IdP Logout URL The URL users are directed to when they click Sign Out. IdP Error URL The URL that users are redirected to if authentication fails after AAD is identified by Kyndryl Cloud Uplift - Kyndryl Cloud Uplift Support enables SSO for your account and gives you an Entity ID, Authentication Certificate, and SAML metadata to enter in AAD. Configure AAD with these files so that Kyndryl Cloud Uplift is recognized as a service provider.
-
Work with Kyndryl Cloud Uplift Support to test and verify the SSO configuration. During this testing, we recommend that you test the account sign in from a new incognito browser session to eliminate issues caused by browser cookies or the browser cache.
Troubleshooting tip
For help troubleshooting the negotiation between the Kyndryl Cloud Uplift SSO service provider and AAD:
- Use a browser-based tool to trace the network requests associated with the SSO connection. For example, use a tool like SSO Tracer or SAML Tracer.
- Check the logs from AAD for errors or other messages.
-
After SSO is properly configured, enable your Kyndryl Cloud Uplift user accounts to use SSO authentication rather than password-based authentication.
- For instructions, see Enabling SSO on an existing user account.
- For more information about signing into Kyndryl Cloud Uplift after SSO is enabled, see Signing into Kyndryl Cloud Uplift with SSO.
Editing SSO settings or disabling SSO for the customer account
To edit your account SSO settings
-
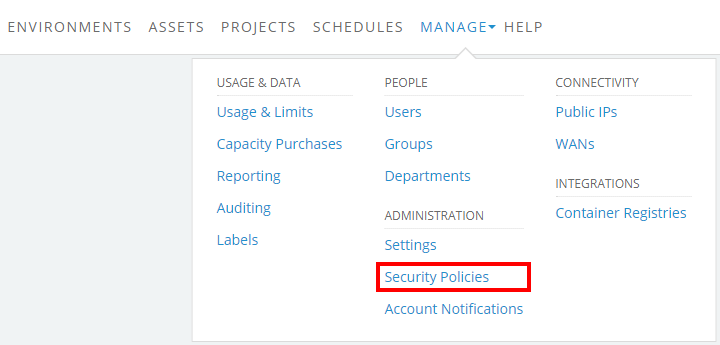
Click Manage > Security Policies.
-
Click the Sign-on policy tab.
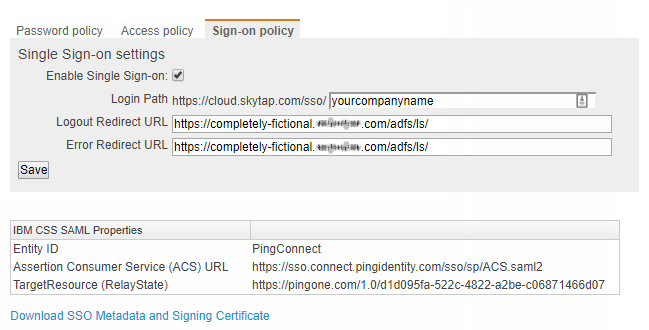
From this tab, administrators can:
- Disable Single Sign-on for the entire account. This prevents SSO-enabled users from logging in, and it deactivates sharing portals that use single sign-on.
- Edit the Login path, Logout redirect URL, and Error redirect URL set up during the initial account configuration. SeeEnabling SSO for your customer account above.
- Download Kyndryl Cloud Uplift service provider metadata and signing certificates.
Managing SSO-enabled user accounts
Users who are enabled for SSO don’t have Kyndryl Cloud Uplift passwords.
Enabling SSO on an existing user account
To switch an existing user’s account from password-based authentication to SSO authentication
-
Navigate to the Edit User page for the user.
If the Manage button is missing, you aren’t a Kyndryl Cloud Uplift administrator. Contact your primary administrator or another Kyndryl Cloud Uplift administrator if you need to modify your user role.
The Users page displays.
-
Click
 (Expand options) next to the user you want to edit.
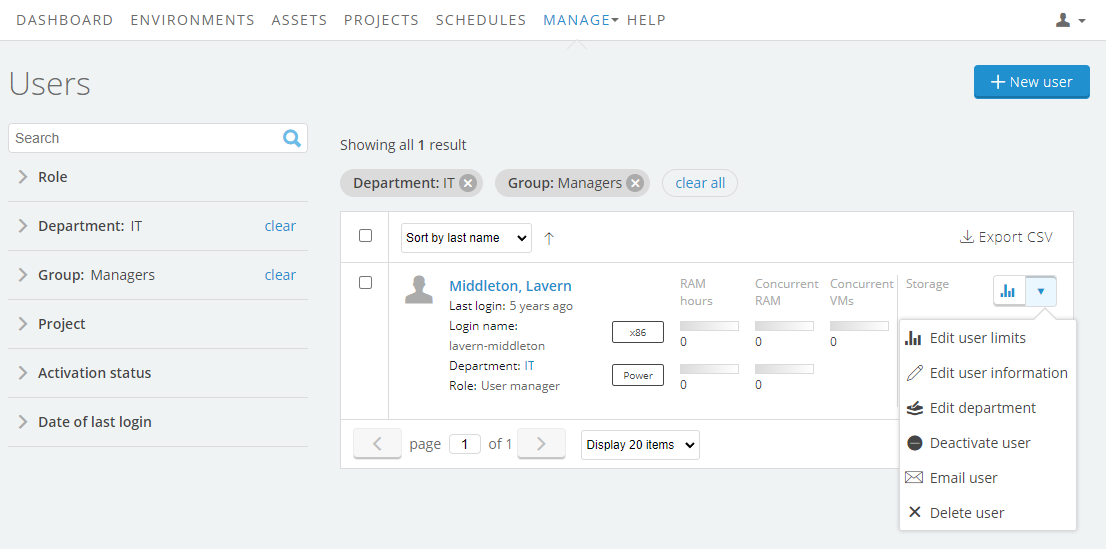
-
Select Edit user information from the drop-down menu.
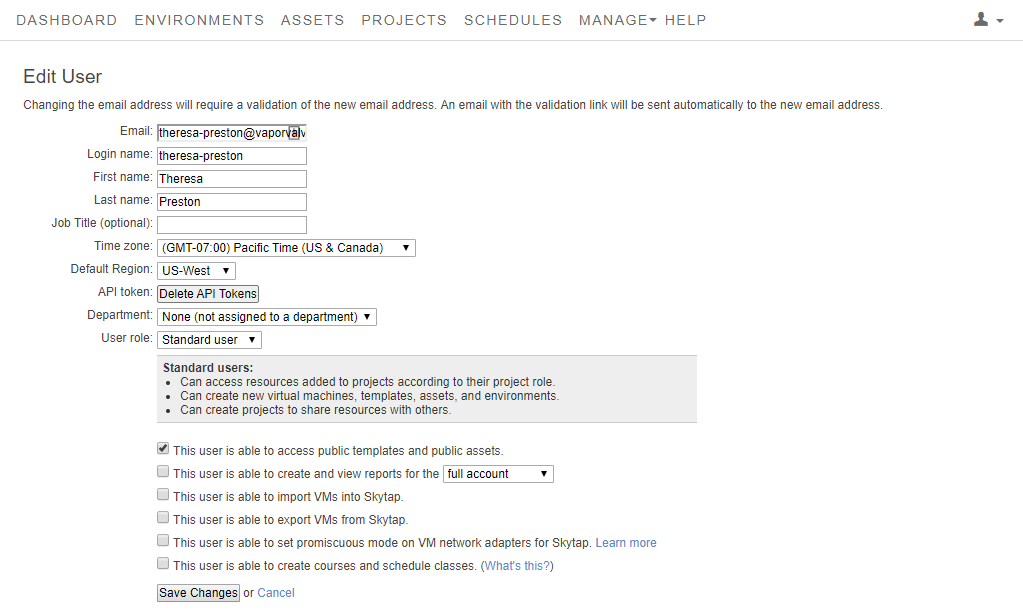
The Edit User page displays.
-
In the user details, check Enable Single Sign-on.

- Verify that the user’s sign-in name is a valid email address.
- Click Save.
-
The user must validate the account change:
- Kyndryl Cloud Uplift sends a user activation email to the user. The user must click the activation button to activate the account.
- Kyndryl Cloud Uplift sends a second email to the user, with the Kyndryl Cloud Uplift sign in link for your account. The user clicks this link to initiate an SSO connection and sign in to Kyndryl Cloud Uplift with his or her SSO credentials. Users can bookmark this URL for future access. For more information, see Signing into Kyndryl Cloud Uplift with SSO.
Creating new SSO-enabled user accounts
To create an SSO-enabled user
Create a user, following the instructions at Creating user accounts. During the account configuration step, select Enable Single Sign-on, and verify that the user’s login name is a valid email address.
The user must complete a two-step process to validate the account:
- Kyndryl Cloud Uplift sends a user activation email to the user. The user must click the activation button to activate the account.
- Kyndryl Cloud Uplift sends a second email to the user, with the Kyndryl Cloud Uplift sign in link for your account. The user clicks this link to initiate an SSO connection and sign in to Kyndryl Cloud Uplift with his or her SSO credentials. Users can bookmark this URL for future access. For more information, see Signing into Kyndryl Cloud Uplift with SSO.
Disabling SSO on a user account
To disable SSO for a user account
-
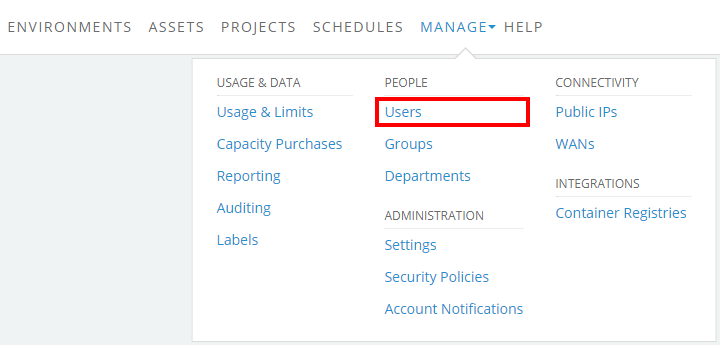
Click Manage > Users.
If the Manage button is missing, you aren’t a Kyndryl Cloud Uplift administrator. Contact your primary administrator or another Kyndryl Cloud Uplift administrator if you need to modify your user role.
The Users page displays.
-
Click
(Expand options) next to the user you want to edit. -
Select Edit user information from the drop-down menu.
The Edit User page displays.
- In the user details, uncheck Enable Single Sign-on.
- Click Save.
- The user must validate the account change. Kyndryl Cloud Uplift sends the user a new activation email. The user must click the activation button to activate the account. After this, the user can use the sign-in page at Kyndryl Cloud Uplift.
Signing into Kyndryl Cloud Uplift with SSO
After your account is enabled for SSO, Kyndryl Cloud Uplift generates a custom login path for your organization’s SSO-enabled users (for example: https://cloud.skytap.com/{sso}/{yourcompanyname}`). The first time an SSO-enabled user signs into Kyndryl Cloud Uplift, he or she must sign in using this custom path.
This URL can be bookmarked or placed on an internal company portal for future access. It can also be changed using the instructions for Editing your account SSO settings.
When a user signs in using the custom path, Kyndryl Cloud Uplift places a local cookie on the user’s machine that associates the user with AAD. The next time the user logs in, he or she can use the standard login path at https://cloud.skytap.com/{sso}/{yourcompanyname}`. Kyndryl Cloud Uplift uses the browser cookie to associate and validate the user to AAD.
If users clear the browser cookies or use different browsers, they must sign in using the custom login path (example: https://cloud.skytap.com/{sso}/{yourcompanyname}`).
When you log out of Kyndryl Cloud Uplift, your AAD session should also end. We recommend that you close all open browser windows to make sure that the AAD session fully closes.
Accessing sharing portals with SSO
After your account is enabled for SSO, sharing portals can be configured to be accessible via SSO sign in (in the Security section of the sharing portal configuration options).
- For a detailed description of the sharing portal configuration options, see Sharing portal options.
- For a general overview of sharing portals, see Sharing VMs and environments with sharing portals.