Overview of sharing portal options
The Sharing Portal Options page lets you customize, preview, and send a sharing portal.
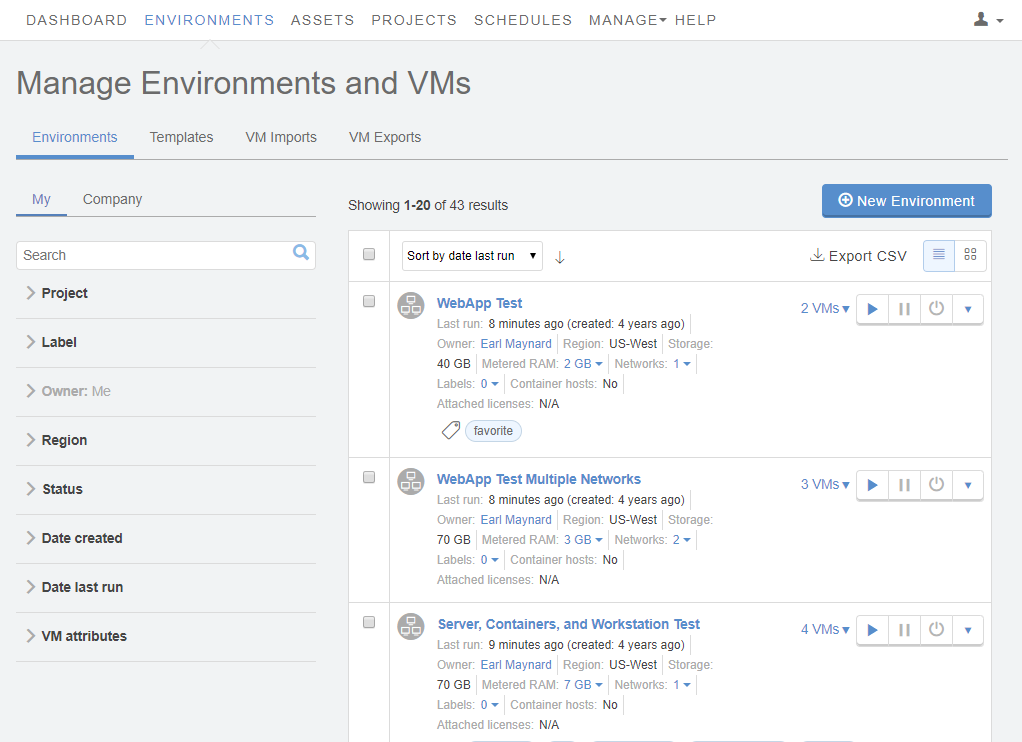
- From the navigation bar, click Environments.
- Click the Environments tab. This displays a list of environments you have access to.
- (Optional) Use the filter, search, or sort options to find the environment you want to use.
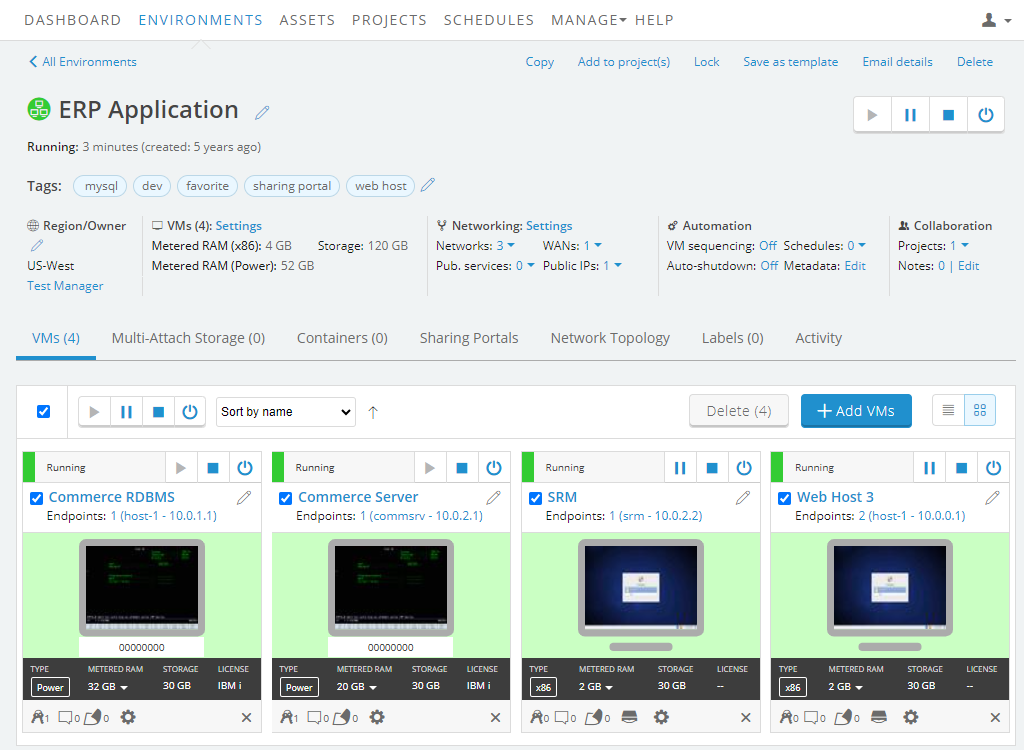
- Click the name of the environment. The Environment details page displays.
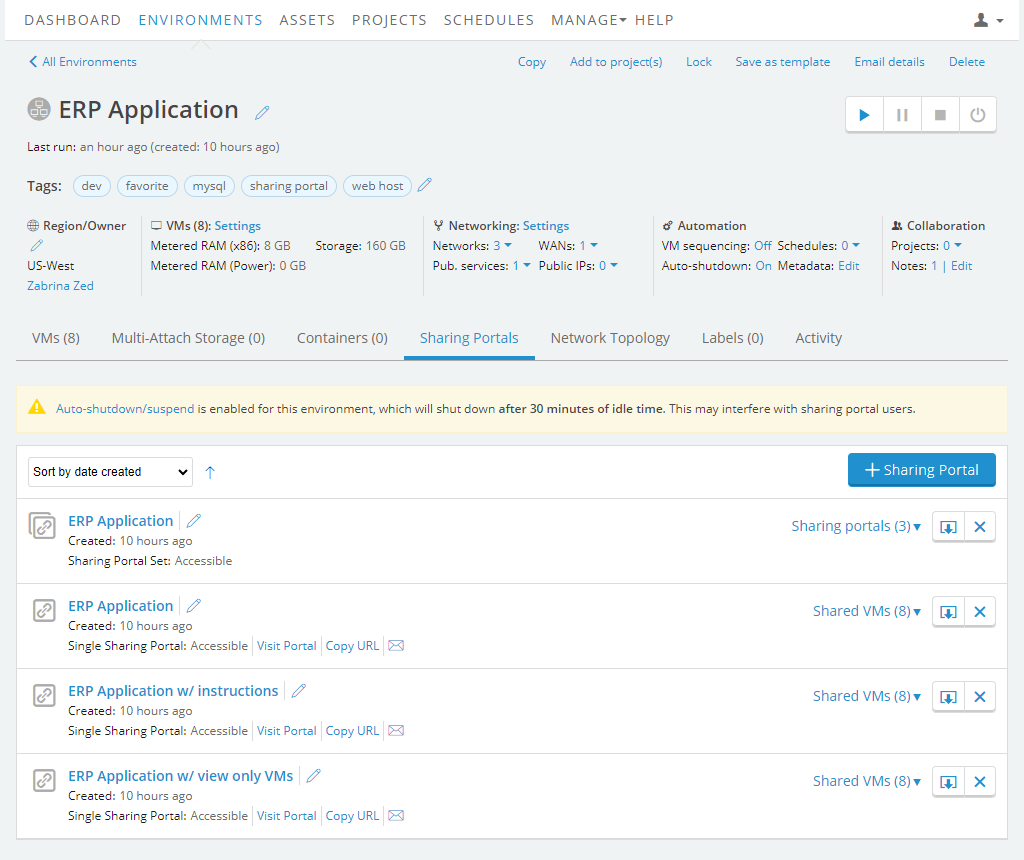
Click the Sharing Portals tab.
A list of sharing portals is displayed.
- Click the name of an existing sharing portal to edit the options, or click
(Add Sharing Portal) to create a new sharing portal you can further customize.
Contents
Portal Type

Change the sharing portal type, visit the sharing portal, or make the sharing portal available to other people.
- Edit – Change the sharing portal type. Choose Single sharing portal or Sharing portal set.
- Visit Portal – Test the sharing portal in a new browser tab.
- Copy URL – Copy the URL for the sharing portal to share it in a web page or other medium.
- Mail – Loads a default email message you can send to the people who will use the sharing portal. The email message contains a link to the sharing portal and links to troubleshooting resources.
If you chose a sharing portal set, the Copy URL, Visit Portal, and Mail options are available for each VM in the set.
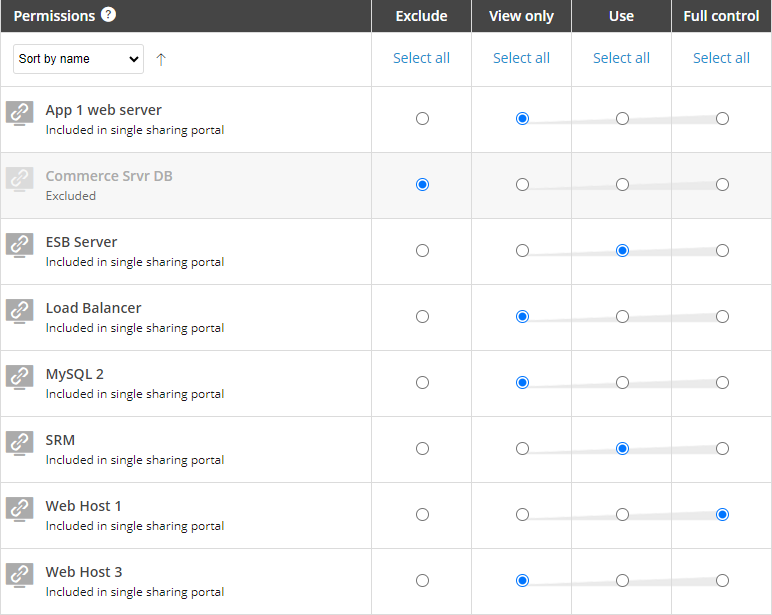
Permissions
Select the level of control users have over VMs in the environment.
Options
Exclude
Users can’t see this VM.
View only
This VM is visible, but users can’t interact with it.
Use
Users can interact with this VM, but can’t run, suspend, shut down, reset, or power off the VM.
Full control
Users have full control over this VM. They can run, suspend, shut down, reset, and power off the VM.
You can choose permission levels for each VM or click Select all to set all VMs to a single permission level.
Access controls
You can set time and date limits for the sharing portal, or limit access with a password.
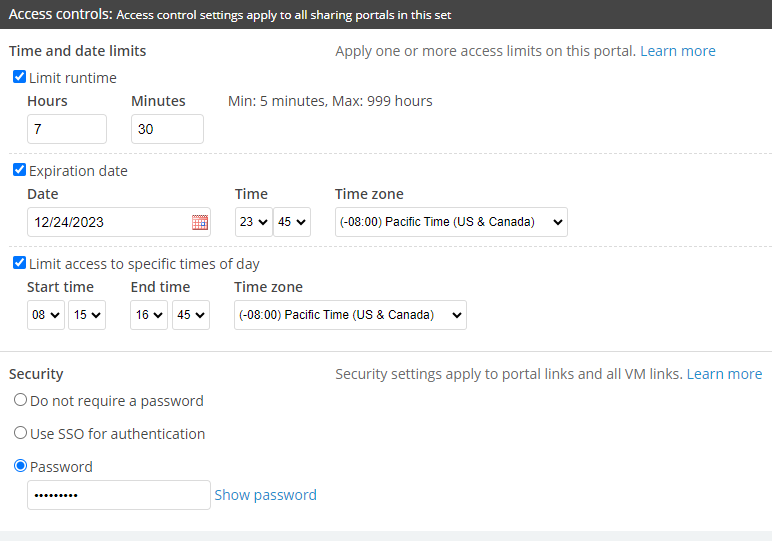
Time and date limit information displays in the sharing portal view.
Time and date limits
You can allow access to a sharing portal on a schedule.
Limit runtime
Limit the total duration of time that a user can run and access VMs in the environment.
When the runtime limit is reached, the VMs can no longer be accessed. The sharing portal isn’t deleted, and the VMs aren’t automatically suspended. The environment owner can add more time to the runtime limit to reinstate access.
Notes
- The timer runs only when someone is accessing the sharing portal and the VM or environment is running. The timer stops when all VMs in the sharing portal are powered off or suspended.
- The timer doesn't reset if the runtime limit is extended. For example, if someone uses four hours of a VM with a runtime limit of five hours, extending the runtime limit to six hours lets the user continue for only two more hours.
- VMs are not automatically suspended when the sharing portal runtime limit is reached. To set a timer that will automatically suspend the environment when it's no longer in use, see [Automatically suspend inactive environments. To automatically suspend the environment at a specific date and time, see Automating actions with schedules.
Expiration date
Access to the environment expires at the specified date and time.
The sharing portal is still present but access to it’s prevented. You can allow access to it by changing the expiration date.
Limit access to specific times of day
Access to the sharing portal is limited to the specified time of day.
Security
Do not require a password
Anyone can use the sharing portal URL to access the environment and interact with it according to the permissions.
This option may be disabled by your administrator.
Use SSO for access authorization
This option appears if your account is enabled for Single Sign-On (SSO).
If this option is selected, users must be authenticated by your Identity Provider (IdP) to access the environment from this URL.
Any user who has the sharing portal URL and successfully authenticates via SSO can access to the sharing portal; the URL isn’t tied to a single user account.
Password
Users must enter the password to access the environment from this URL.
Portal customization
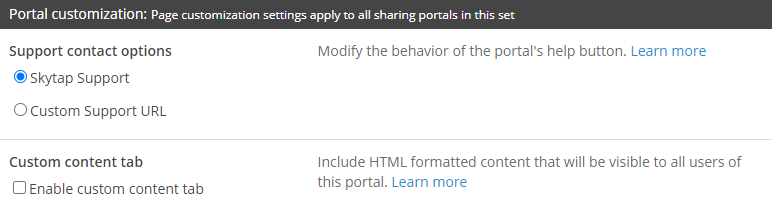
Support contact options
These options control the behavior of the Help/Support button in the sharing portal.
Kyndryl Cloud Uplift Support (Default)
The Help/Support button links to a Kyndryl Cloud Uplift help article.
Custom Support URL
The Help/Support button links to your support desk email or a custom help site. You can link any website or email address to this button.
A custom support link must start with either http://, https://, or mailto:.
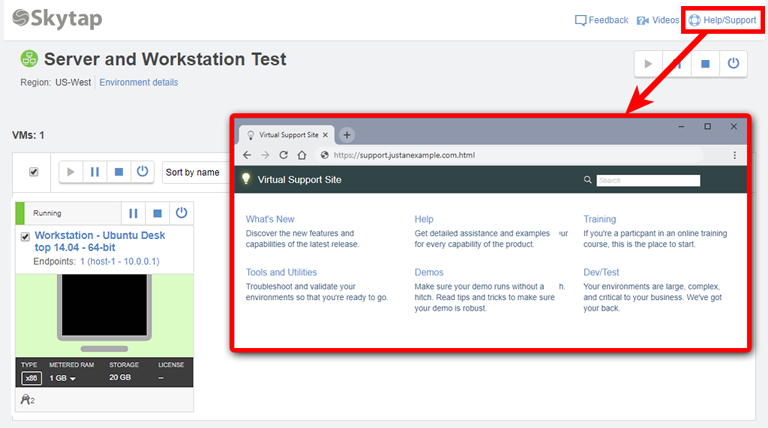
Sample custom support link
Custom content tab
This option allows you to include a second tab in the sharing portal. This tab can contain HTML content, including instructions, examples, download links, and links to other pages.
- For instructions, see How to create custom HTML content for a sharing portal
- For sample HTML templates, see Custom content for sharing portals – starter templates
- For a list of supported HTML tags, see Custom content for sharing portals – allowed HTML