Editing the network NAT subnet
This article describes how to change the NAT subnet size for a network that is already in use.
If you’re configuring a new network, see Creating an automatic network.
To edit environment network settings
-
Shut down all of the VMs connected to the network. You can’t edit a network that contains running or suspended VMs.
If you don’t want to shut the VMs down, you can alternately disconnect the VMs from the network (using the Network Settings page shown in the next step) and then connect them back after editing the network. The VMs may receive different IP addresses when they are reconnected. IP addresses are automatically allocated in the order the VMs are connected to the network.
-
Navigate to the environment Network Settings page.
-
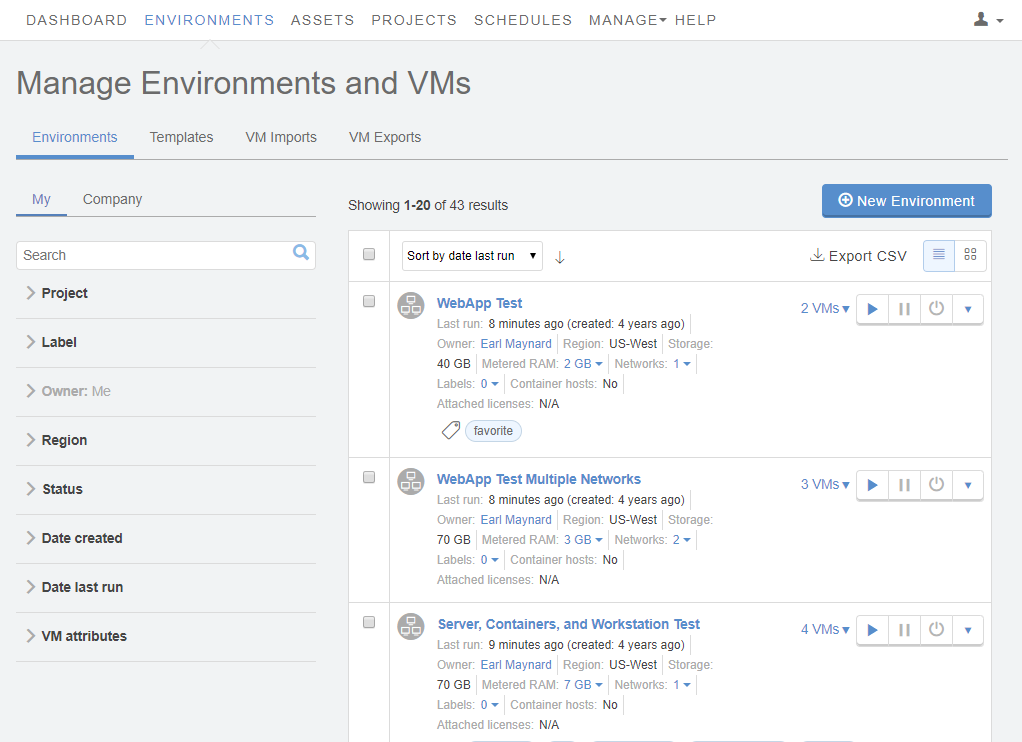
Click Environments > Environments to display a list of environments you own or that have been shared with you.
-
Click the name of an environment to open the Environment Details page view.
-
Click the Networking: Settings link in the environment overview.
 The Network Settings page displays.
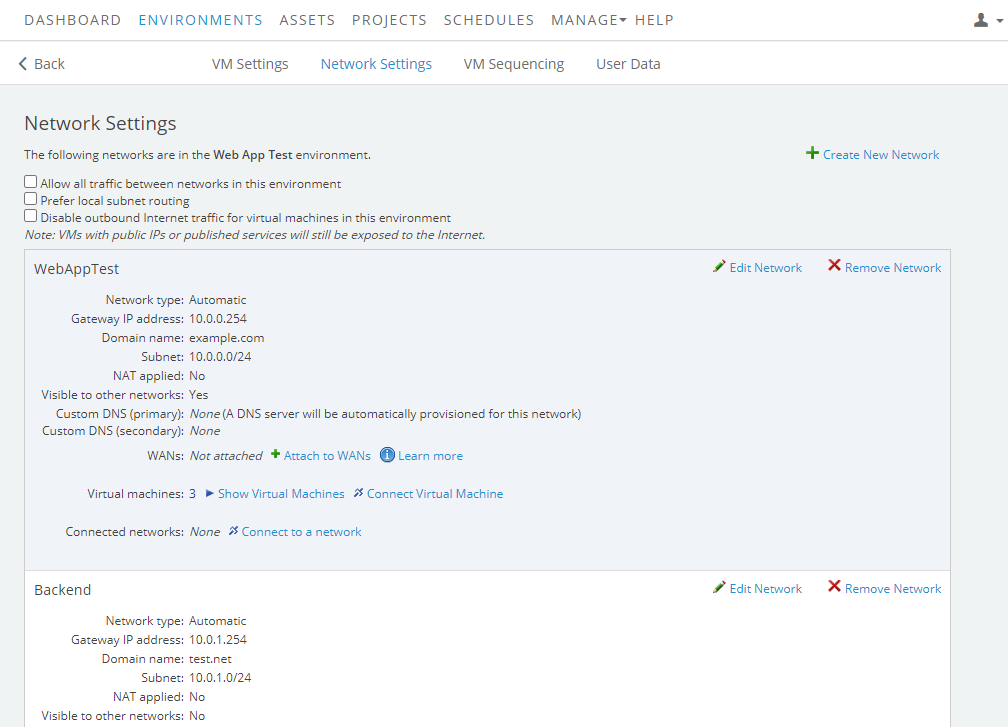
-
-
If the network is connected to other networks, disconnect any connected networks:
VMs on the connected networks will lose their current NAT IP addresses when the network is disconnected. New NAT IP addresses will be assigned when you reconnect the network at the end of this process.
-
Click Show Connected Networks.

-
Click Disconnect next to each connected network.
-
-
If the network is connected to VPNs, disconnect any VPNs from the network:
VMs in the current network will lose their current NAT IP addresses when the VPN is disconnected. New NAT IP addresses will be assigned when you reconnect the network at the end of this process.
- Click Attached to X VPNs.
- Click Disconnect next to each VPN.
-
Click
 Edit Network. The Edit network window displays.
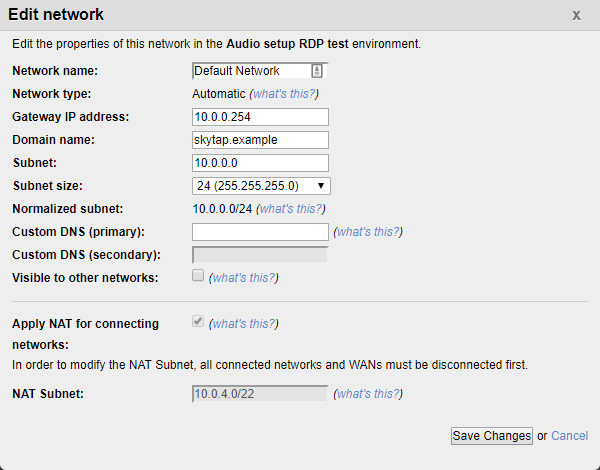
- Edit the NAT Subnet (for example: 10.0.0.1/22). To avoid running out of NAT IP addresses, set the NAT subnet size so it’s large enough to handle multiple NAT connections. We recommend at least /22 subnet mask. The valid subnets are 16–30 (inclusive).
- Click Save Changes.
- Reconnect any networks or VPNs you disconnected in the earlier steps.