Installing and upgrading VMware Tools on Windows VMs
This article describes how to use VMware Tools on Windows VMs. For Linux VMs, see Installing and upgrading VMware Tools on Linux VMs.
Contents
Overview
VMware Tools provides many drivers specific to running your x86 VM operating system. Among others, VMware Tools provides the video driver that allows you to control your VM mouse cursor and the networking drivers required for VM network connectivity.
If you’re having issues with the mouse cursor or connecting to the VM, make sure you’re using the Kyndryl Cloud Uplift-supported version of VMware Tools. Newer versions of VMware Tools may not work with Kyndryl Cloud Uplift VMs.
Notes
- Don't install VMware Tools on Power (non-x86) VMs.
- Kyndryl Cloud Uplift supports VMware Tools version 11.0.5 build 15389592 for Windows VMs and version 10.0.6 build 3560309 for legacy Linux VMs. These versions are available as an .ISO in the Kyndryl Cloud Uplift public assets library. They can also be downloaded from the VMware website. Using unsupported versions of VMware Tools may cause unexpected behavior in Kyndryl Cloud Uplift VMs.
- Most modern major Linux distributions include `open-vm-tools`, an open-source product that generally works with Kyndryl Cloud Uplift. For more information, see github/vmware/open-vm-tools. If your VM has and problems with `open-vm-tools` (for example, if it doesn't shut down correctly), follow the instructions below to install VMware tools.
Checking the VMware Tools version
To check which version of VMware Tools is installed on a Windows VM
-
Locate the VMware Tools icon in the System Tray. Move the mouse pointer over the icon. The the message VMware Tools can be updated. displays, the VMware Tools installation is out of date.
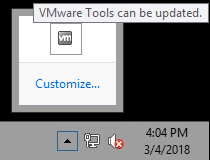
If the VMware Tools icon isn’t in the System Tray, VMware Tools isn’t installed.
-
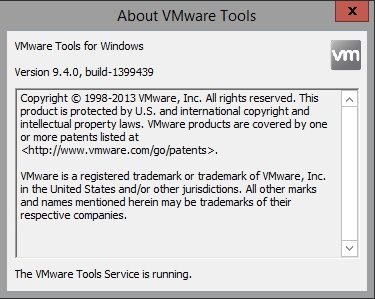
To check which version is installed, right-click the VMware Tools icon and select About VMware Tools. The About VMware Tools dialog displays information about the currently installed version.
Updating VMware Tools
To update your version of VMware Tools
- Follow the procedures below for Installing VMware tools.
Installing VMware Tools
These instructions describe the process for installing VMware Tools on Windows Server 2012 R2. The steps for other versions of Windows may be different.
- Before editing the VM, create a template of it. Should any issues arise, you can restore your VM from this template.
- Navigate to the environment details page for the environment that contains the VM you want to update. Make sure that the VM is powered on and that you’re logged in.
-
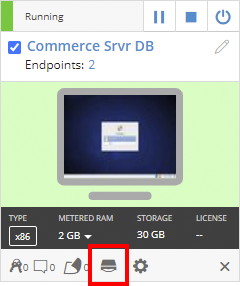
On the tile for the VM you want to update, click
 (Load ISO).
- Click All.
-
Select the ISO to install VMware Tools for Windows.
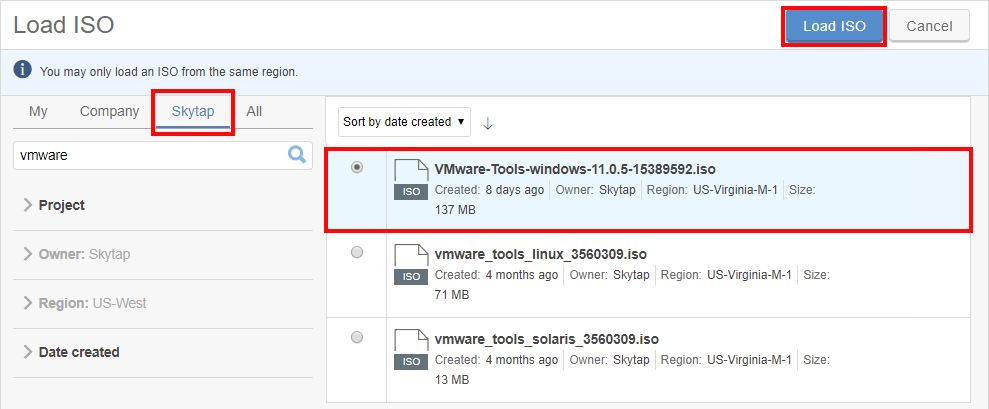
- Click
 (Load ISO).
 -
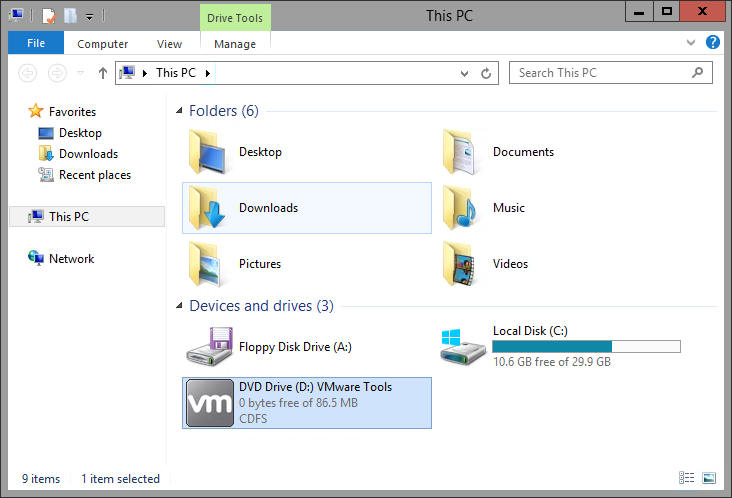
If the installer doesn’t auto-load in your VM, navigate to Computer and double-click the CD-ROM to start the installer.
If you don’t have mouse control in the VM, use the Tab, Spacebar, Enter, and arrow keys on your keyboard to navigate the UI.
-
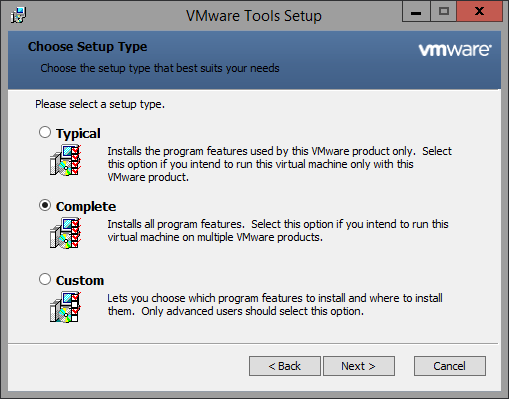
Follow the instructions for a complete install.
-
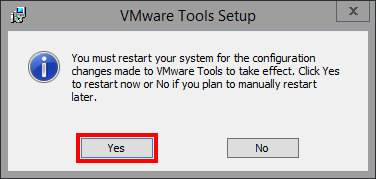
After the installation is complete, reboot the VM.
-
After the VM reboots, check for video driver updates.
To check which driver the VM is using
- Right-click on Start, and then click Device Manager.
- Expand Display Adapters to see the current driver. If the driver listed isn’t VMware SVGA 3D follow the instructions below to update it. If the driver listed is the VMware SVGA 3D driver, make sure you’re using the most recent version.
To check the WDDM driver version
- Right-click the current driver, and click the Properties.
- Check the Driver Date on the Driver tab. Make sure to use the VMware SVGA 3D driver from 7/12/2016 (older versions don’t provide as much video RAM).
To update to the most recent VMware SVGA 3D driver version
- Right-click the current driver, and click Update Driver Software.
- Click Browse my computer and select C:\Program Files\Common Files\VMware\Drivers\video_wddm.
Uninstalling VMware Tools
-
Click Start > Control Panel.
- If viewing by Category, select Uninstall a Program.
- If viewing by Icons, select Programs and Features.
-
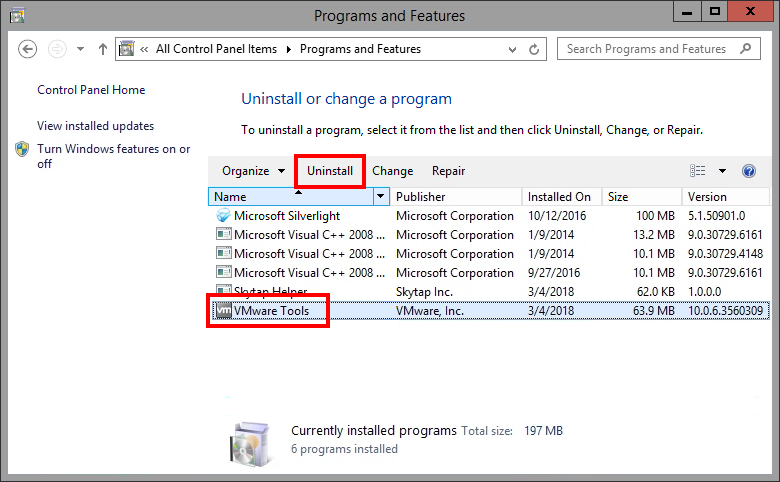
From the Programs and Features window, select VMware Tools and then click Uninstall.
After you uninstall VMware Tools and reboot the machine, you must reinstall VMware Tools to restore mouse control.
Troubleshooting “Setup can’t continue because a later version of this product is already installed” error
The most common error when you update VMware Tools is Setup cannot continue because a later version of this product is already installed.
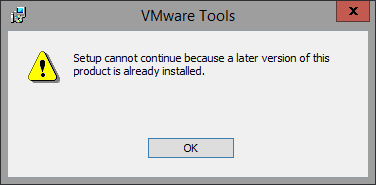
This error usually occurs when a VM is imported to Kyndryl Cloud Uplift. To resolve this error:
- Uninstall the newer version of VMware Tools (see Uninstalling VMware Tools).
- Install the Kyndryl Cloud Uplift recommended version (see Installing VMware Tools).