Editing VM BIOS clock sync settings
By default, Kyndryl Cloud Uplift enables time-sync on each VM. When time-sync is enabled, Kyndryl Cloud Uplift sets the time in the virtual BIOS of the VM to the current UTC time every time the VM is started from a suspended or powered-off state. The VM operating system then takes the time from the BIOS and localizes it for the time zone set in the VM.
Time-sync can’t be disabled for Power A CPU architecture that supports IBM i, AIX, and Linux (on Power) in Kyndryl Cloud Uplift. VMs.
When time-sync is enabled, we recommend that you use VMware Tools or NTP Network Time Protocol – a networking protocol developed to synchronize network clocks (typically, of computers) over Internet Protocol (IP). To learn more, see NIST Authenticated NTP Service. to keep the VM operating system synchronized with the BIOS. VMware Tools is already installed on most VMs in the Kyndryl Cloud Uplift public template library.
To disable time-sync or to set a specific time for the BIOS clock
- Make sure the VM is fully powered off (not running or suspended).
-
Before making hardware changes to your VM, create a template of it. Should any issues arise, you can restore your VM from this template.
-
Navigate to the VM Settings > Hardware page.
- Navigate to the environment that contains the VM you want to edit.
-
Click
 (Settings).
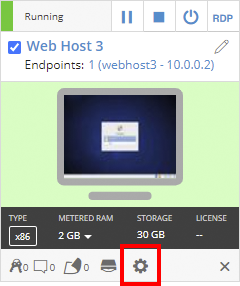
If the Settings button isn’t visible, you don’t have permission to edit the VM settings. Work with your instructor or Kyndryl Cloud Uplift administrator to edit these settings.
- The Hardware tab of the VM Settings page displays.
-
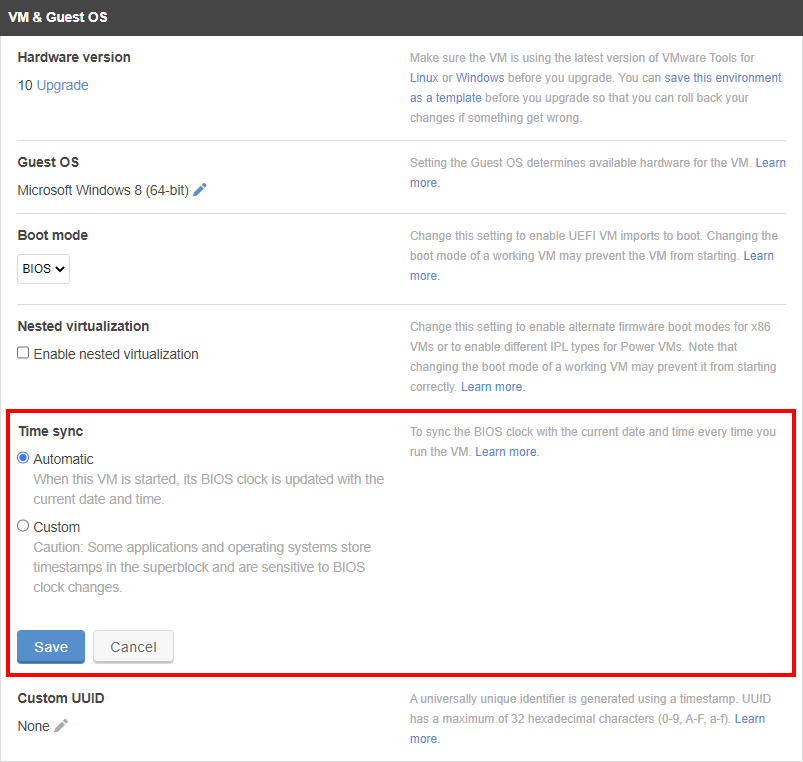
Change the hardware settings to enable the behavior you want:
- To sync the BIOS clock with the current date and time every time you run the VM, select the Enable time-sync checkbox.
- To preserve the VM BIOS clock setting, clear the Enable time-sync checkbox. This disables time-sync and preserves the time state of VMs saved in templates or in little-used environments for reporting or auditing purposes.
-
To provide a specific BIOS clock setting, clear the Enable time-sync checkbox and type a Unix timestamp in the Set VM BIOS Clock at boot box. This clock setting is be used each time the VM is run.
Use this feature with caution. Some applications and operating systems—particularly those with file systems that store timestamps in the disk superblock—are sensitive to changes to the BIOS clock.
-
Click Save.