Adding a published service to a VM
To add a published service to a VM
-
Navigate to the VM Settings > Network Adapters page for the VM you want to edit.
-
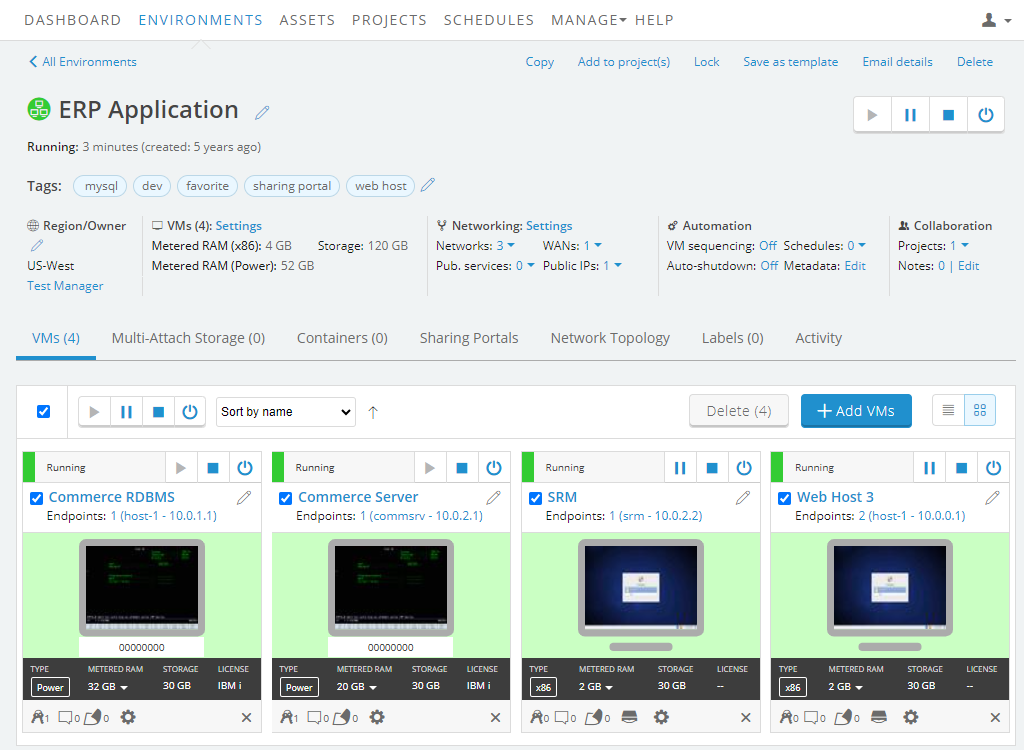
Navigate to the environment.
-
Click
 (Settings) for the VM you want to edit.
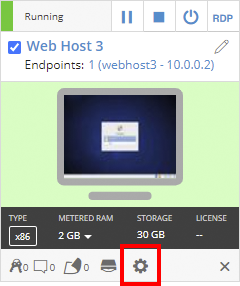
If the Settings button isn’t visible, you don’t have permission to edit the VM settings. Work with your instructor or Kyndryl Cloud Uplift administrator to edit these settings.
-
The VM Settings page displays. Click the Network Adapters tab.
-
-
For the adapter you want to add a published service to, click Add service > Published service.
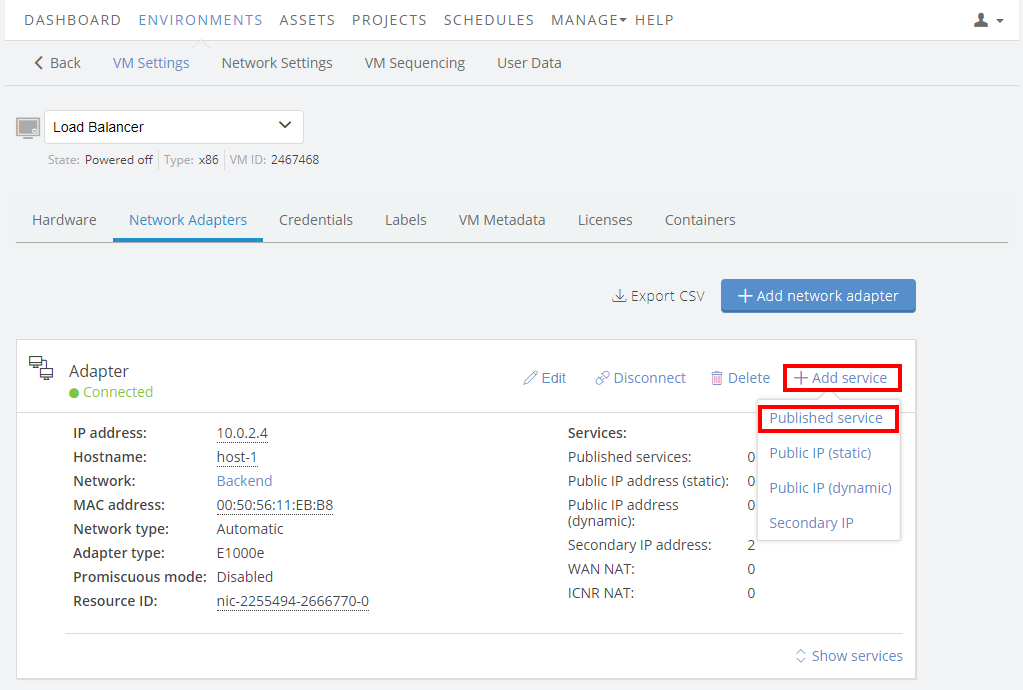
Published services require automatic networking. You can't add a published service to a network adapter that is connected to a Manual network.
If the Add Published Service button is missing, you must first complete the following steps:
The Add published service section displays.
-
Select a common connection method from the Select port menu, or choose Custom, and then type the port number that should be opened for the VM.
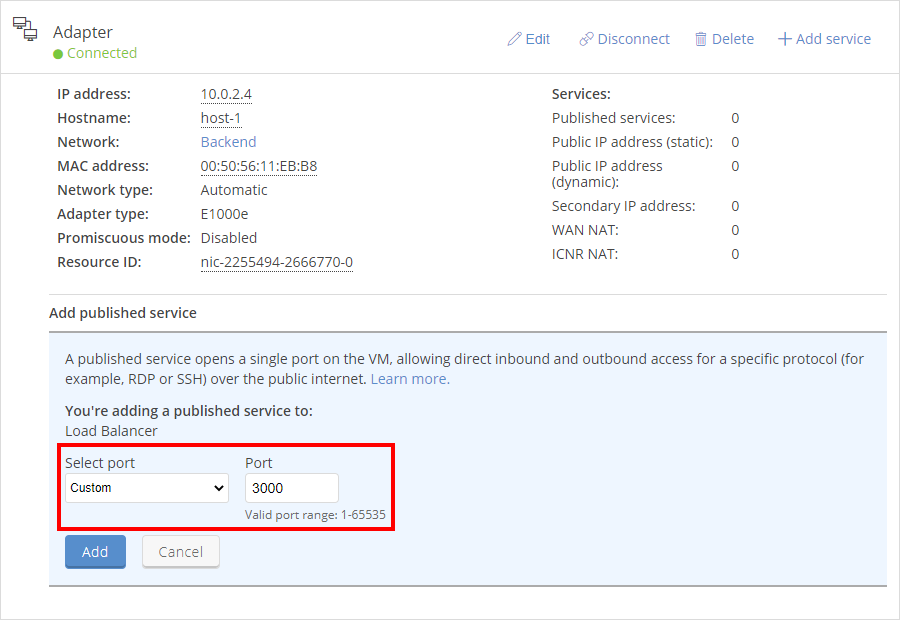
- Click Add.
-
Kyndryl Cloud Uplift creates a published service with an internal port number and a public address.
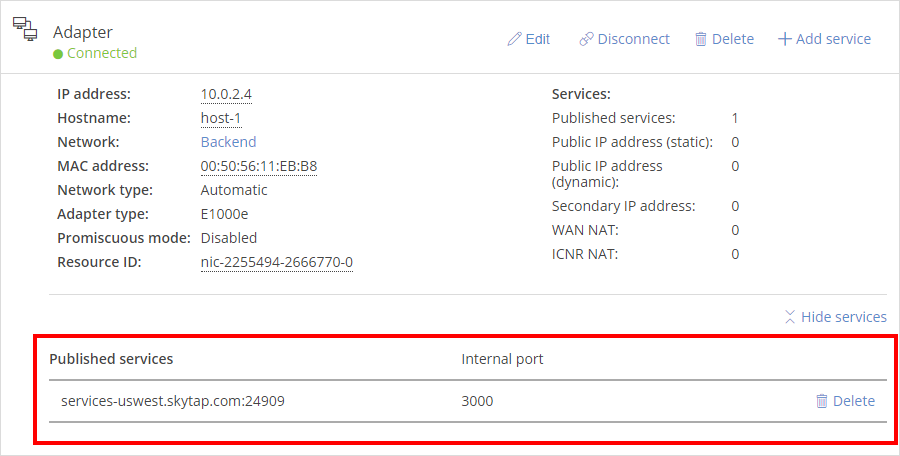
- The Internal port is the port you selected to open in the previous step. This is the port used by the VM application or service.
- The Published service is the URL exposed on the public Internet; use this address to connect to this VM. For more information, see Connecting to a VM using a published service.
-
Configure the VM to support the remote connection. The specific requirements vary, depending on the port and application you’re connecting to. For example, to connect with RDP, remote access must be enabled on the VM. For some applications, the VM firewall rules may need to be edited to allow traffic over the port you’re publishing.
- For help with RDP, see Accessing VMs with direct RDP.
- For help with SSH, see Accessing VMs with SSH.
Related articles
- For information about the IP addresses and port ranges used by published services, see What IP addresses and port ranges does Kyndryl Cloud Uplift use?
- Remove a published service
- Connect to a published service
- Troubleshoot a published service