Adding VMs to an environment
You can modify a Kyndryl Cloud Uplift environment by adding copies of VMs from the current environment or adding copies of VMs from other environments or templates. This helps you mix, match, and reuse VMs.
For example, if you have a Jenkins server configured in a template, you can quickly add copies of the VM to each of your dev/test environments.
Contents
How to add resources to an environment
To add one or more resources to an environment
-
Navigate to the Environment page.
-
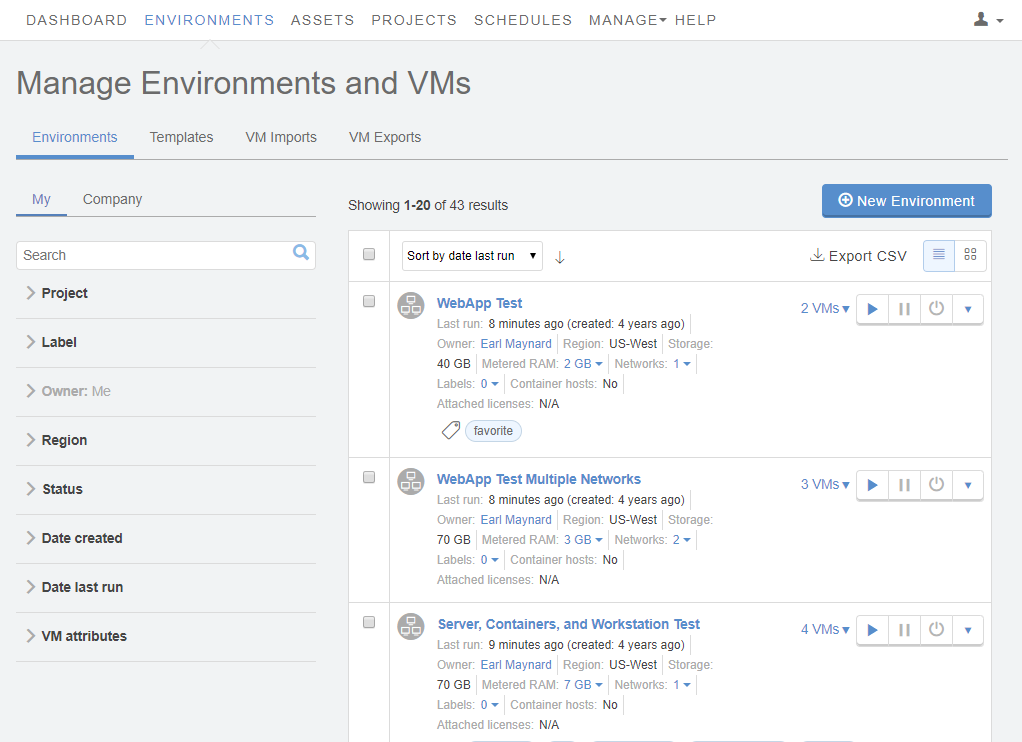
From the navigation bar, click Environments. Click the Environments tab.

- (Optional) Narrow or sort the list of environments using the filter, search, or sort options.
-
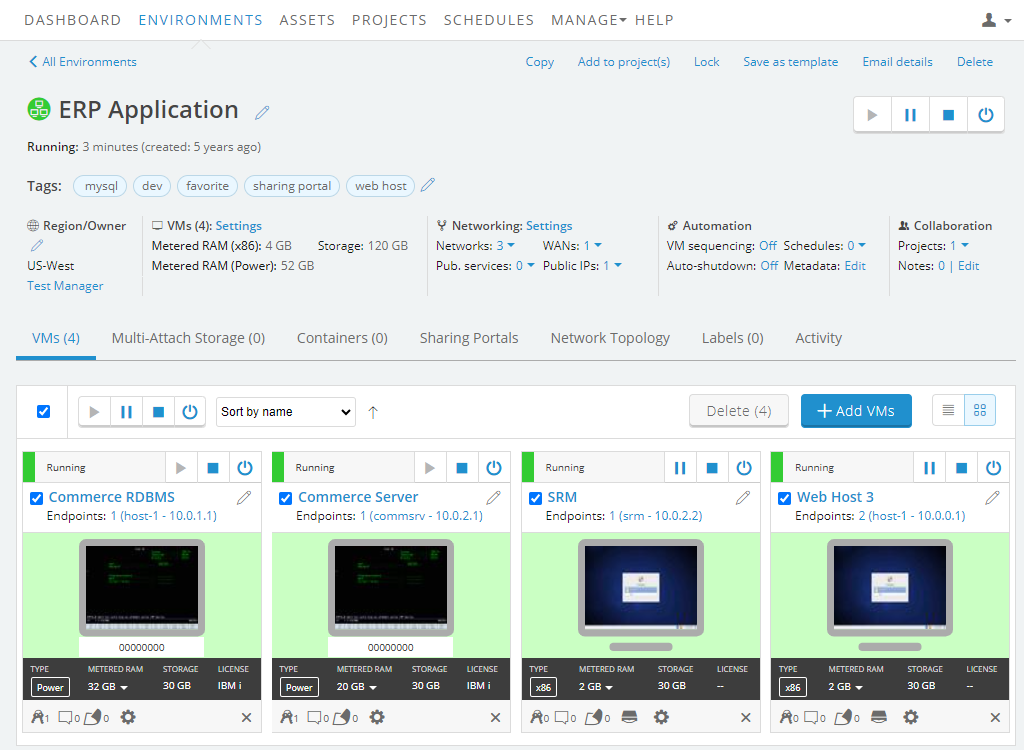
Click the name of the environment.
The Environment Details page displays.

-
-
Click
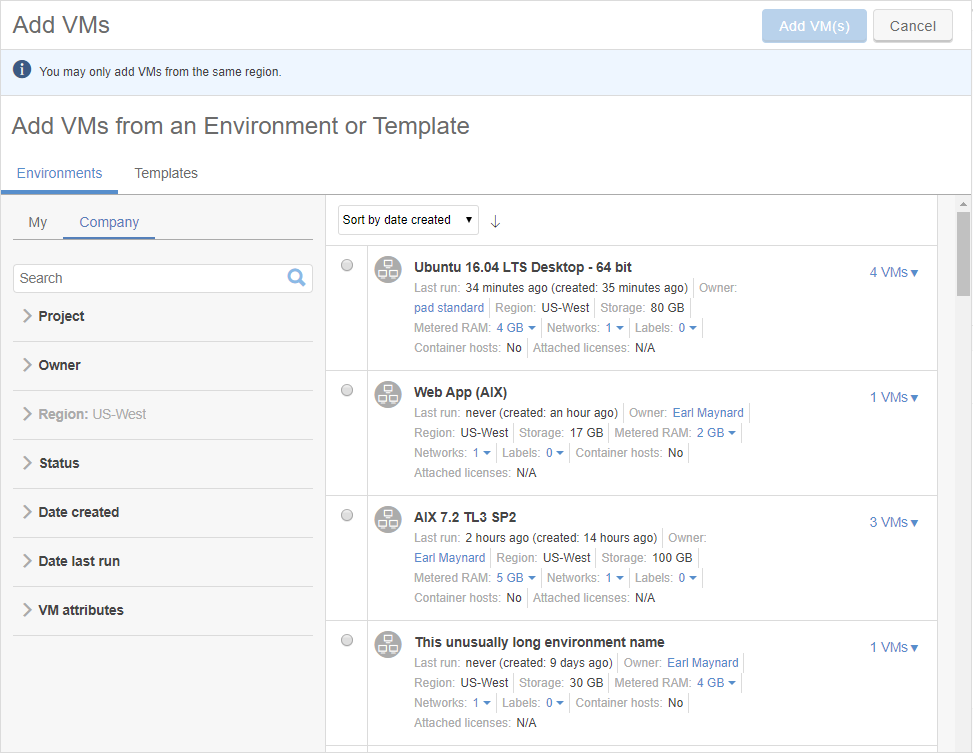
 . The Add Resources screen displays.
-
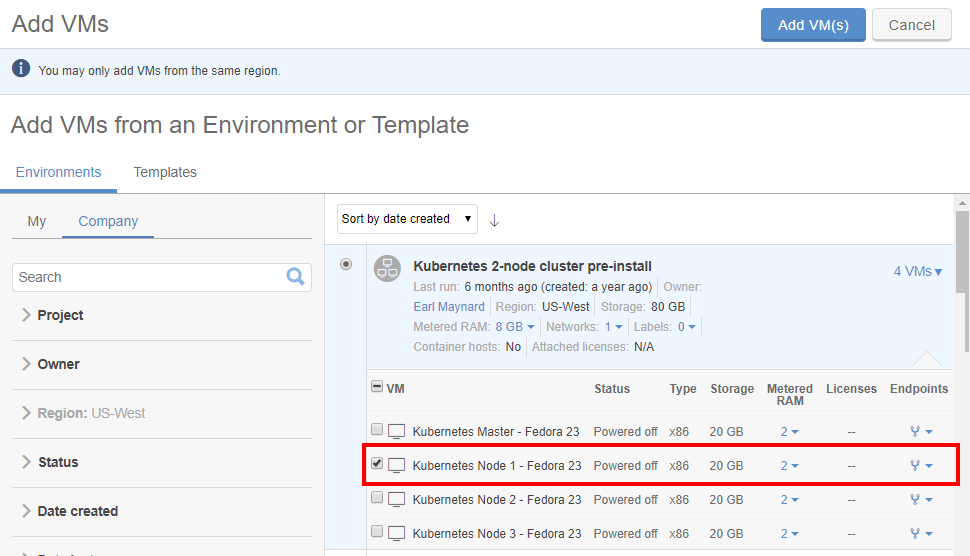
Select one or more resources in an environment or template.
For example:
- When you add an environment or a template with multiple resources, you can choose to add all of the resources or just some of them.

- Only one environment or template can be selected at a time. If you need to add VMs from multiple environments or templates, repeat the Add Resources process and select a different environment or template each time.
Notes
- To add running VMs, select Copy VMs while they're running. The VMs will be added to the environment in the Powered off state, but the source VMs will continue running.
- We strongly recommend that you first minimize application and disk activity for the source VMs.
- When you add an environment or a template with multiple resources, you can choose to add all of the resources or just some of them.
- Click
 .
. - Kyndryl Cloud Uplift adds the selected VMs and network settings as described in Automatic configuration steps that happen when you add VMs to an environment below. If you add VMs from the current environment, you may need to perform some additional configuration steps to ensure the VM has unique identifiers. For example, you may need to edit the VM MAC address or edit the Windows hostname.
Automatic configuration steps that happen when you add resources to an environment
When you add a VM to an environment:
-
Kyndryl Cloud Uplift copies the VM from the source environment or template to the current environment.
The copy includes:- VM hardware settings and credentials
- VM guest OS settings (and state)
- VM network adapters (including public IP address and published service settings)
-
Kyndryl Cloud Uplift merges or adds any networks connected to the VM.
Kyndryl Cloud Uplift uses the following network settings to determine whether the network that is attached to the VM should be merged with an existing network in the environment, added to the environment, or rejected:- Network type (Manual or Automatic)
- Domain name (example:
test.net) - Subnet (example:
192.168.0.0) - Subnet size (example:
24)
The table below explains what happens when these network parameters do or don’t match.
Scenario
Description
If all of the parameters for the two networks match…
The networks are merged. The network in the current environment is preserved and the new VM is automatically connected to it.
Examples
| Networks in the environment before the merge | Network attached to the added VM | Networks in the environment after the merge |
|---|---|---|
Network A: 10.0.0.0/24Domain: test.net(Automatic) |
Network B: 10.0.0.0/24Domain: test.net(Automatic) |
Network A: 10.0.0.0/24Domain: test.net(Automatic) |
Network A: 198.162.0.0/16Domain: test.net(Manual) |
Network B: 198.162.0.0/16Domain: test.net(Manual) |
Network A: 198.162.0.0/16Domain: test.net(Manual) |
If the two networks don’t have overlapping subnets…
Kyndryl Cloud Uplift adds a copy of the network to the environment. The new VM is attached to the new network created during the copy process.
Examples
| Networks in the environment before the merge | Network attached to the added VM | Networks in the environment after the merge |
|---|---|---|
Network A: 10.0.0.0/24Domain: test.net(Automatic) |
Network B: 192.168.0.0/24Domain: test.net(Automatic) |
|
Network A:10.0.0.0/24Domain: test.net(Manual) |
Network B:192.168.0.0/24Domain: test.net(Automatic) |
|
If the two networks have the same subnet, but have different domains or network types…
Kyndryl Cloud Uplift generates a merge error and doesn’t allow you to add the VM to the environment.
Examples
| Networks in the environment before the merge | Network attached to the added VM | Networks in the environment after the merge |
|---|---|---|
Network A: 10.0.0.0/24Domain: test.net(Automatic) |
Network B: 10.0.0.0/24Domain: example.com(Automatic) |
Merge error: The networks could not be merged because their domain names differ. |
Network A: 10.0.0.0/24Domain: test.net(Automatic) |
Network B: 10.0.0.0/24Domain: test.net(Manual) |
Merge error: The networks could not be merged because they are of different types. |
If the two networks have overlapping subnets…
Kyndryl Cloud Uplift generates a merge error and doesn’t allow you to add the VM to the environment.
Examples
| Networks in the environment before the merge | Network attached to the added VM | Networks in the environment after the merge |
|---|---|---|
Network A: 10.0.0.0/16Domain: test.net(Automatic) |
Network B: 10.0.0.0/24Domain: test.com(Automatic) |
Merge error: The networks could not be merged because their subnets overlap. |
If the two networks have the same subnet but have different gateway IP addresses…
Kyndryl Cloud Uplift generates a merge error and doesn’t allow you to add the VM to the environment.
Examples
| Networks in the environment before the merge | Network attached to the added VM | Networks in the environment after the merge |
|---|---|---|
Network A: 192.168.138.0/24Domain: test.netGateway IP address: 192.168.138.1(Automatic) |
Network B: 192.168.138.0/24Domain: test.comGateway IP address: 192.168.138.254(Automatic) |
Merge error: The networks could not be merged because their gateways differ. |
Troubleshooting
Resolving network merge errors
Error description
If Kyndryl Cloud Uplift displays a network merge error during the Add Resources process, a network connected to the VM can’t be automatically merged with or added to the existing networks in the environment (see additional explanation above). There are 3 possible errors:
- Error: The networks could not be merged because their subnets overlap.
- Error: The networks could not be merged because they are of different types.
-
Error: The networks could not be merged because their domain names differ. The networks could not be merged because their gateways differ Either:
-
Edit the VM to disconnect its network adapter from the conflicting network and then retry the Add Resources operation.
or
- Edit the network attached to the VM or the network in the current environment. Make sure the network subnets don’t overlap, or make sure the networks match entirely. For instructions, see Editing an automatic network. After the network is edited, retry the Add Resources operation.
Resolving MAC address errors
Error: A MAC address conflict occurred during the operation
Error description
A MAC address conflict occurs if Kyndryl Cloud Uplift can’t give the VM a unique MAC address on the network. Generally, this errors appears when a suspended VM is copied to the same environment. The VM is added to the environment, but isn’t connected to the network.
Resolution
- Shut down the VM. If the VM is suspended, we recommend that you run it and then safely shut it down.
- Edit the VM network adapter to give it a unique MAC address.
- Edit the VM network adapter to connect it to a network in the environment.
Resolving different gateway errors
Error: The networks could not be merged because their gateways differ.
Change the gateway IP address of the environment to match the gateway IP address of the template.
