Creating an environment from a template
Kyndryl Cloud Uplift makes creating virtual environments quick and easy. This guide explains how to create a Ruby on Rails environment from a public template. You can also use this process to create a new environment from a template that you own or a template that has been shared with you.
See how this works in the Building Your First Environment course at Kyndryl Cloud Uplift Polytechnic.
-
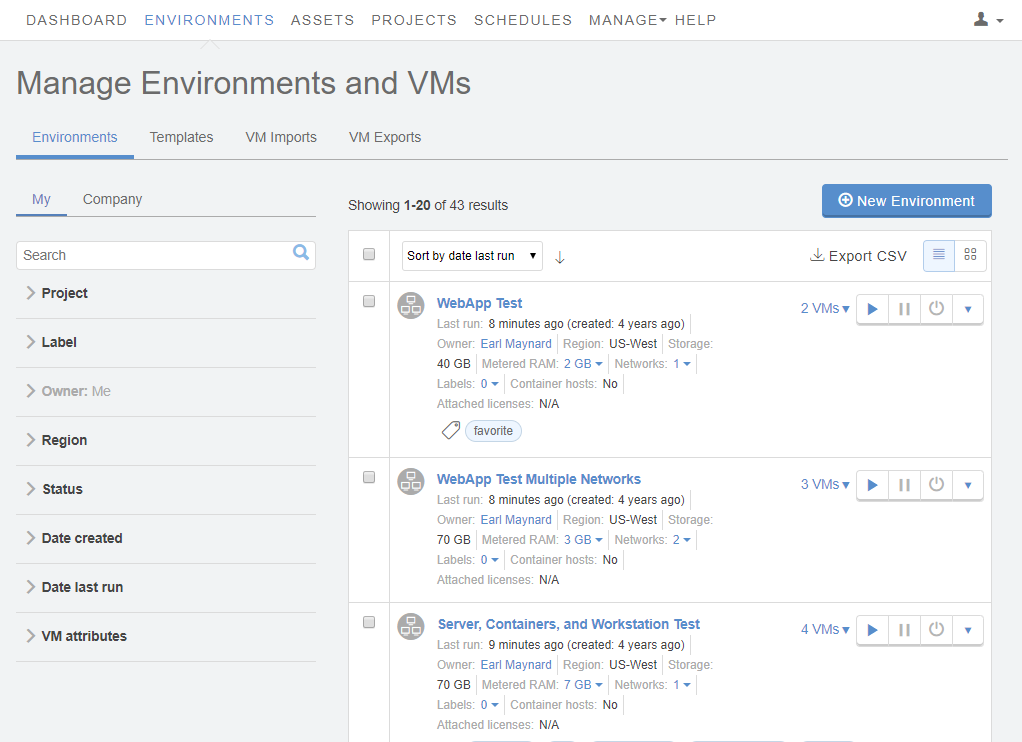
In the navigation bar, click either Dashboard or Environments.
-
Click
 (New Environment). The Create a New Environment window displays.
If this button isn’t visible, you may be a restricted user A user role with limited permission to view and create resources in Kyndryl Cloud Uplift. To learn more, see User roles and access permissions. with limited or no permission to create environments. Try the instructions at Creating an environment from a template in a project (restricted users).
-
To display the public templates, click Kyndryl Cloud Uplift. Alternately, to display templates that have been shared with you, click Company.
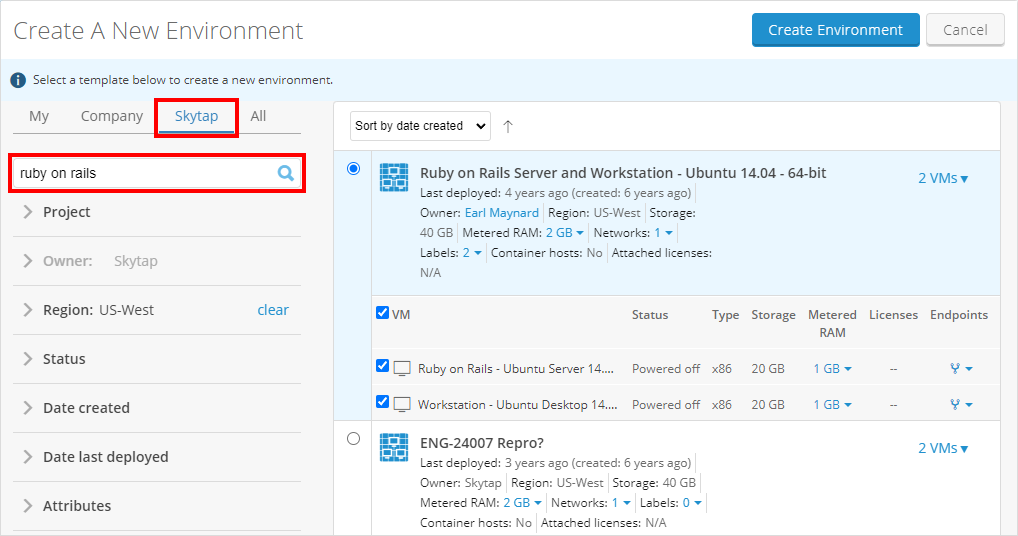
- To search for a specific template, type the template name in the search box. To locate Ruby on Rails templates, type Ruby on Rails. Press Enter.
- Click the name of a template to select it. If your account has access to multiple regions, you’ll see multiple copies of this template, one for each region A data center located in a unique geographic area. When you upload an asset or import a VM, you must specify its region. To learn more, see Understanding regions. . For the best performance, select the template in the region closest to your physical location.
-
Click
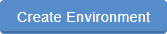 (Create Environment). Your new environment displays.
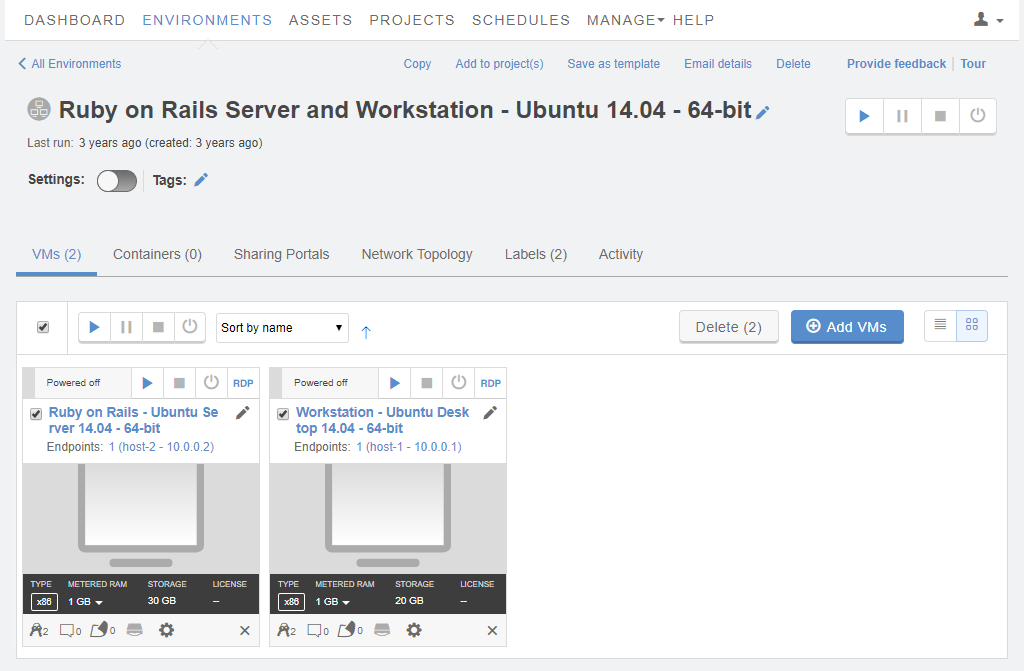
To customize the environment, see Editing VM settings and Managing networks. To access the VMs or share the environment, see Accessing VMs.