Enabling SSH on a VM for use in SRA browser client sessions
Kyndryl Cloud Uplift Linux and AIX VMs can be configured to allow SSH connections in the Secure Remote Access (SRA) browser client.
This provides a secure option for directly connecting to the VM console, and it allows multiple users to simultaneously connect to the VM with distinct credentials and user sessions.
This feature must be enabled for your customer account.
After your customer account has been granted access to this feature, each VM can be optionally configured to support SSH connections in the SRA browser client.
- To check whether you have access to this feature, follow the instructions in Step 2 to view the Connection types option on the VM Hardware Settings page.
- If you're a primary administrator, contact support@skytap.com to enable this feature across your account. Include your name, email address, and the name of your organization.
- If you're a standard user or administrator, work with your primary administrator to request this feature.
Contents
Requirements
Supported operating system
Currently, an SSH connection in a SRA browser session is supported for:
- x86 VMs with *NIX operating systems, including Ubuntu, Fedora, RHEL, etc.
- Power VMs with AIX operating systems
Kyndryl Cloud Uplift automatic network
The VM must be connected to an automatic network. To view the current VM network connections, navigate to the VM Settings > Network Adapters page.
- Navigate to the environment that contains the VM you want to edit.
-
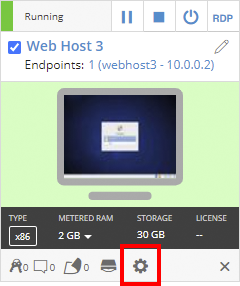
Click
 (Settings). The VM Settings page displays.
If the Settings button isn’t visible, you don’t have permission to edit the VM settings. Work with your instructor or Kyndryl Cloud Uplift administrator to edit these settings.
- Click the Network Adapters tab.
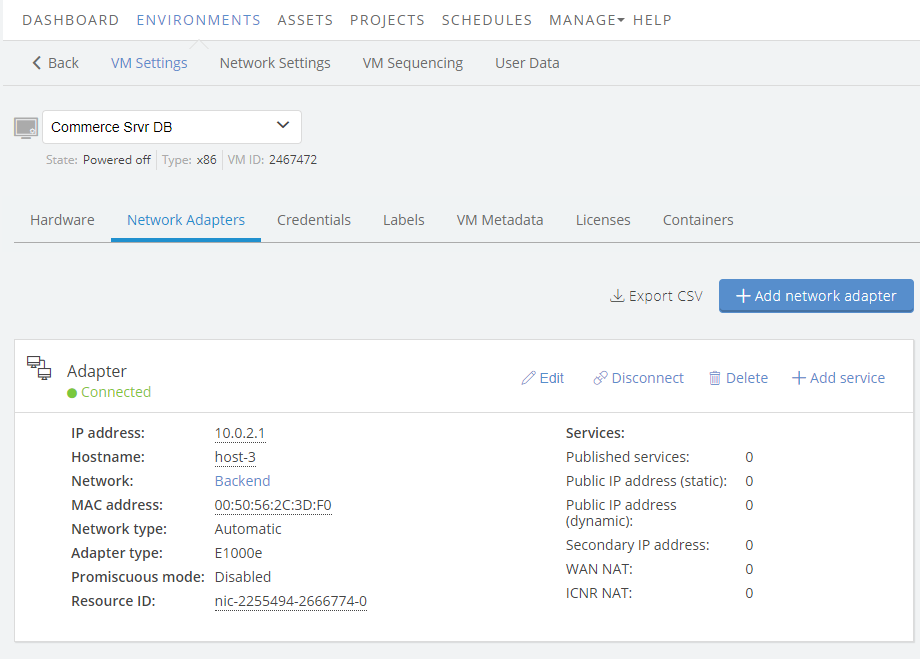
If the VM isn’t connected to an automatic network, see Attaching VMs to networks.
Step 1: Configuring the VM operating system
Configure the VM operating system to support incoming SSH connections.
Generally, you must:
- Make sure an SSH service is installed and running on the VM.
-
Make sure the SSH server accepts connections with a user name and password.
Connections with public and private keys aren’t supported at this time.
- Make sure the VM operating system firewall accepts incoming connections on the port number used by the SSH service.
The instructions vary by operating system version. For sample instructions, expand one of the sections below.
From a terminal session in the Ubuntu VM:
- Install OpenSSH server:
apt install openssh-server - Confirm that the SSHD service is running:
ps aux | grep sshdIf the service is running, one or more lines will be returned in the output. If the service isn’t running, type:
start ssh - Confirm that the Ubuntu VM is listening on the expected port. By default, this is port 22.
netstat -an | grep :22If the service is listening on the defined port, one or more lines will be returned in the output.
These are the basic steps needed to run an SSH service on an Ubuntu VM. For advanced configuration options and more information about OpenSSH, see https://help.ubuntu.com/community/SSH/OpenSSH/Configuring.
Don’t disable Password Authentication. Connections with public and private keys aren’t supported at this time.
By default, AIX VMs created from the Kyndryl Cloud Uplift public template library have SSH installed.
- To check if the SSH service is active, type:
lssrc -s sshd - To install SSH on an AIX VM imported into Kyndryl Cloud Uplift, see the instructions at https://www.ibm.com/support/knowledgecenter/en/ssw_aix_72/com.ibm.aix.security/opensshimages.htm.
Step 2: Editing the VM hardware settings to support SSH connections
You must configure the VM hardware settings to support SSH connections over the SRA browser client.
To enable SSH connections during the SRA browser client
-
Make sure the VM is powered off.
-
Navigate to the VM Settings > Hardware page.
- Navigate to the environment that contains the VM you want to edit.
-
Click
(Settings).If the Settings button isn’t visible, you don’t have permission to edit the VM settings. Work with your instructor or Kyndryl Cloud Uplift administrator to edit these settings.
- The Hardware tab of the VM Settings page displays.
-
Next to Alternative connection types, click
 . The Alternative connection types section expands.
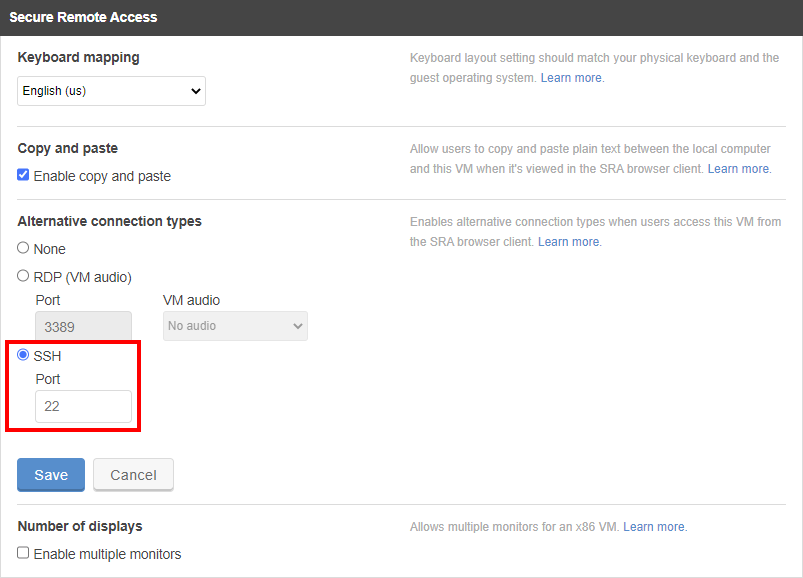
If you can't edit Alternative connection types, this option isn't enabled for your account.
- If you're a primary administrator, contact support@skytap.com to enable this feature across your account. Include your name, email address, and the name of your organization.
- If you're a standard user or administrator, work with your primary administrator to request this feature.
- Click SSH.
- (Optional) Set a custom Port for the SSH connection. SSH uses port 22 by default. Don’t edit this setting unless you have customized the Linux VM to use an alternate port for SSH.
- Click Save.
- Run the VM.
Because the SSH session runs from within the guest OS, allow extra time for the VM to boot and the SSH service to start before you try to connect with a browser client.
Step 3: Verify the SSH connection works
Follow the steps in the Using an SSH connection during an SRA browser client session article to connect to the VM and verify the SSH connection works.
Step 4: (Optional) Save as a template
So that you don’t have to complete all of the steps above for each VM you deploy, save the environment as a template and deploy new environments with SSH-enabled VMs as needed.
To save the environment as a template, see Saving an environment as a template.