Exporting VMs from Kyndryl Cloud Uplift
You can use the Export page to download a copy of a Kyndryl Cloud Uplift VM.
Notes
- The VM export includes the VM disks, select hardware configuration settings (such as CPU and RAM), and select network configuration settings (such as VM IP address). Kyndryl Cloud Uplift-specific settings (such as saved VM credentials and VM notes) aren't included in the VM export.
- Export isn't supported for Power A CPU architecture that supports IBM i, AIX, and Linux (on Power) in Kyndryl Cloud Uplift. VMs.
- A customer account can have a maximum of five simultaneous import and export operations.
Contents
Prerequisites
-
You must have export permissions.
To see if you have export permissions
- In the Navigation bar, click the Environments tab. The Manage Environments and VMs page displays.
- The VM Exports tab indicates whether you have export permissions.
- If you see the VM Exports tab, you have export permissions.

- If the VM Exports tab is absent, you don’t have export permissions.
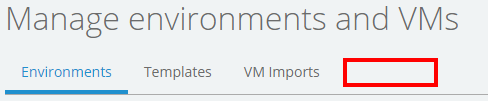
- If you see the VM Exports tab, you have export permissions.
To request export permissions, contact your account administrator.
- The VM should be powered off, rather than suspended. A suspended VM will be “crashed” when it’s exported.
- The VM must be in a template that you own. You can’t export a VM from an environment or public template.
- If you don’t already have the VM in a template, go to the environment page and select Save as Template.
- If you’d like to export a VM from a public template, copy the template to create a version that you own.
Export process
To export a VM
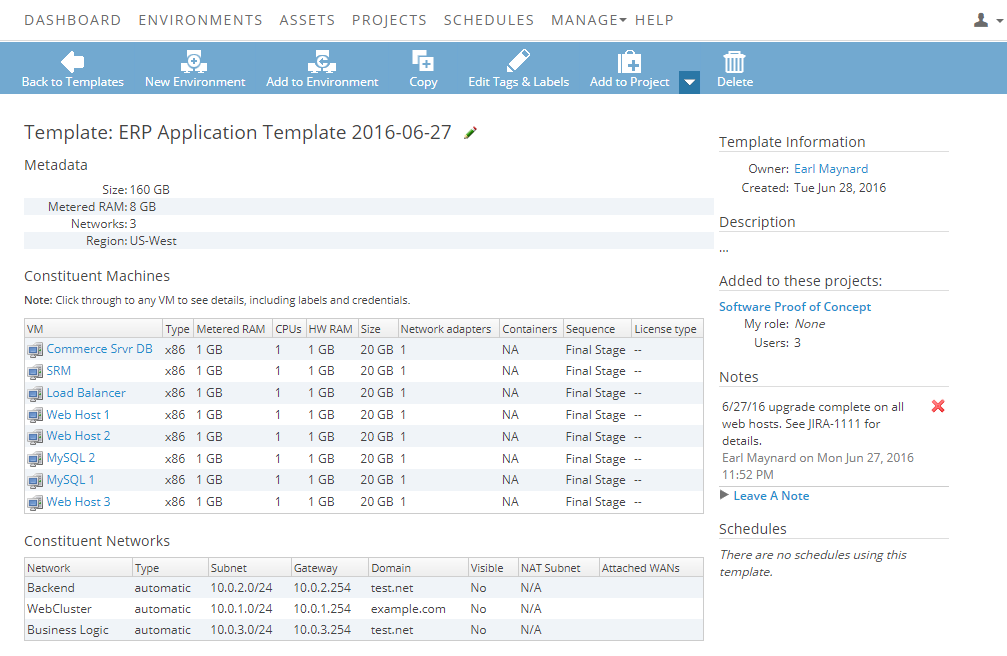
- Navigate to the template that contains the VM.
- In the Constituent Machines section of the template, click the VM you want to export.
-
Click Export in the toolbar.

If you don’t see Export, you don’t have permission to export VMs. Contact your account administrator to request access.
- Confirm the choice to export the VM.
-
Select Export VM to begin the export process.
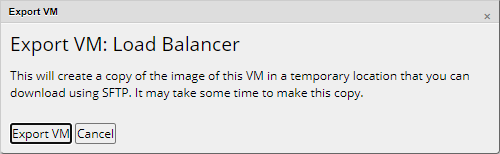
Depending on the size of the VM, this can take 30 minutes to several hours to complete. You’ll be sent an email notification when the export is finished.
-
Once the export process completes, SFTP credentials for the export site that contains the VM are provided. Use a dedicated SFTP client (such as WinSCP) to download the VM.
Kyndryl Cloud Uplift strongly recommends that you use SFTP, which is more secure and provides better protection against file corruption.
The temporary SFTP account expires after 10 days.
- After you download the image, extract the VM. For Windows, you can use 7zip to do this. For macOS (OS X), you can use 7zX.
- The extracted VM disk is saved with the file name
session.vmdkand the VM environment file is saved with the file namesession.vmx. Depending on the environment, there may be other file types. For details, see this table.