Building a VM from an empty OS image ISO
Kyndryl Cloud Uplift provides empty x86 The most common CPU architecture. x86 CPUs support Windows and Linux VMs in Kyndryl Cloud Uplift. VMs that you can customize with your own ISO files. These empty VMs are available as public templates. To create a new VM using one of these templates:
Contents
Create an environment from an empty template
-
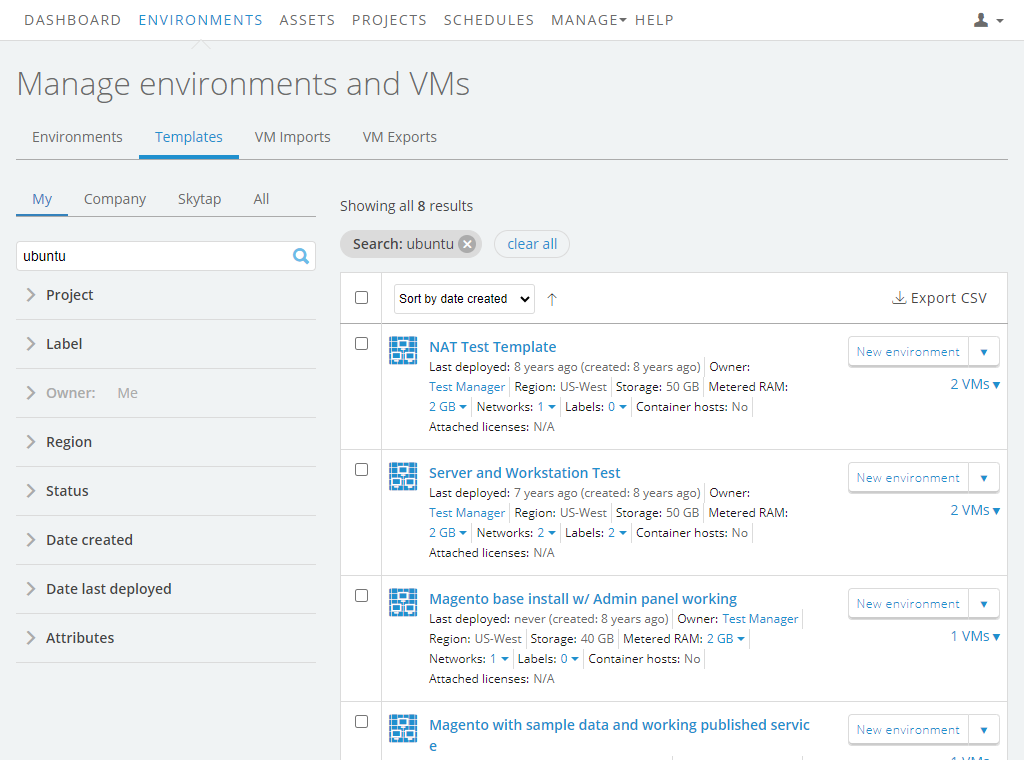
In the navigation bar, click Environments > Templates.
-
Click the Kyndryl Cloud Uplift tab in the left column to display the public templates.

- Type “empty” in the search field to display all empty images.
- Locate a VM with the appropriate empty image OS (Windows or Linux), and click
 (New Environment). The Deploy a New Environment dialog displays.
 - Click
 (Deploy) to create the empty environment.
 - (Optional) Click
 (Settings) at the bottom of the VM to adjust the CPUs, RAM, and virtual disks on the VM Hardware Settings page. Make sure the VM has enough resources to support the operating system.
Upload the ISO image to Kyndryl Cloud Uplift
Upload the ISO to your Kyndryl Cloud Uplift Assets page. This allows you to later mount the ISO in the VM CD/DVD drive.
For instructions, see Uploading files to the Assets page.
Upload the ISO to the same region as the VM.
Boot the VM from the ISO
-
Load the ISO into the VM CD-ROM drive:
- If the VM isn’t already running, click
 (Run this VM) to start the VM.
 -
Click
 (Load ISO) at the bottom of the VM.
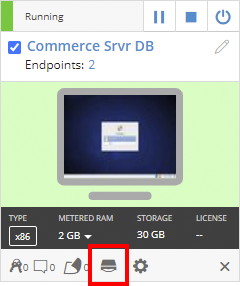
- Assets appear as a pop-up window; select the appropriate ISO asset and click
 (Load ISO) (see Using ISO files for an illustration of this process).
- If the VM isn’t already running, click
-
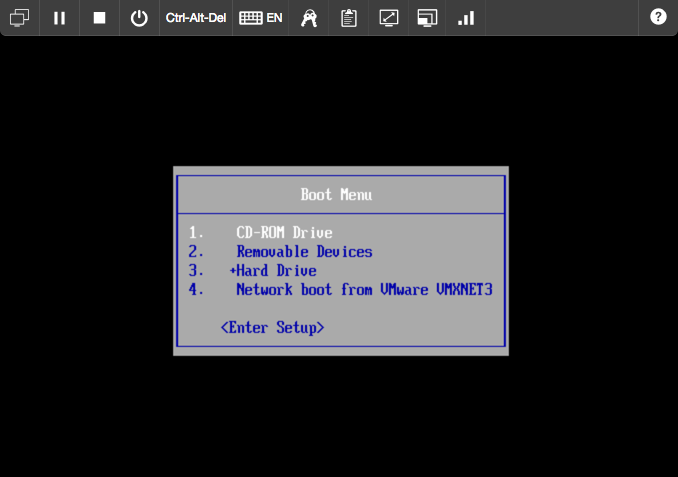
Use the Boot Menu inside the VM to boot the VM from the CD-ROM Drive:
This temporarily changes the boot order for the VM so that it starts from the CD-ROM drive. If you restart the VM, it will revert to its normal boot order.
-
Click on the thumbnail image of the VM desktop to open the Secure Remote Access (SRA) browser client
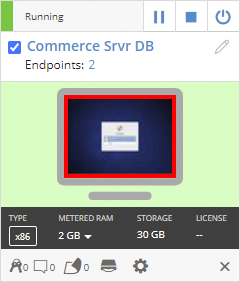
There is no OS loaded yet, so the VM won’t boot.
-
Click Ctrl-Alt-Del in the browser client toolbar to reboot the VM.

-
When the VM starts to reboot, and while the VMware startup screen is displayed, press Esc on your local keyboard to enter the Boot Menu.
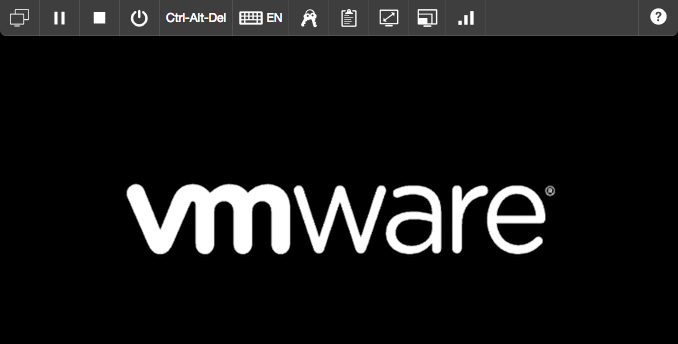
If you lose control over the mouse or keyboard during this process, click in the browser window and reboot the VM to try again.
-
In the Boot Menu, select the option to boot from the CD-ROM Drive.
-
The VM should boot from the ISO you inserted.
Install the OS
Install the OS using the vendor instructions (which vary, depending on the OS).
If you don’t have mouse control in the VM, use the Tab, Spacebar, Enter, and arrow keys on your keyboard to navigate the UI.
Install VMware Tools
After the OS setup is complete, install VMware Tools to enable full keyboard and mouse functionality.
- For Linux VMs, see Installing and upgrading VMware Tools on Linux VMs.
- For Windows VMs, see Installing and upgrading VMware Tools on Windows VMs.
Related link: Improving operating system or application performance within the VM.