Getting started: Building your first environment
Welcome. This guide helps you build and explore your first Kyndryl Cloud Uplift environment.
For best results, make sure you meet the Access requirements.
Contents
Creating an environment
A Kyndryl Cloud Uplift environment An object that comprises one or more VMs, one or more networks, configuration settings, and metadata. You can save the exact state of an environment as a read-only template. To learn more, see Kyndryl Cloud Uplift quick start: Building your first environment. contains a related set of virtual machines and networks. An environment can be as simple as one virtual machine VM – A virtual computer or server hosted within a data center. A VM runs a full operating system and applications. Each VM has virtual resources, including CPU, RAM, file system storage, CD/DVD drive, and network interfaces. (with one automatically created virtual network), or it can be a complex application stack with multiple VMs and complex networking.
In this tutorial, we’re going to create a working environment from a pre-built public template. Kyndryl Cloud Uplift includes a variety of public templates in your account to help you quickly create and explore environments. You can follow these same steps to create an environment from a template A read-only copy of an environment that can be used to back up critical environments. It acts like a blueprint for new environments. To learn more, see Saving an environment as a template. that has been shared with you.
To create an environment from a template
-
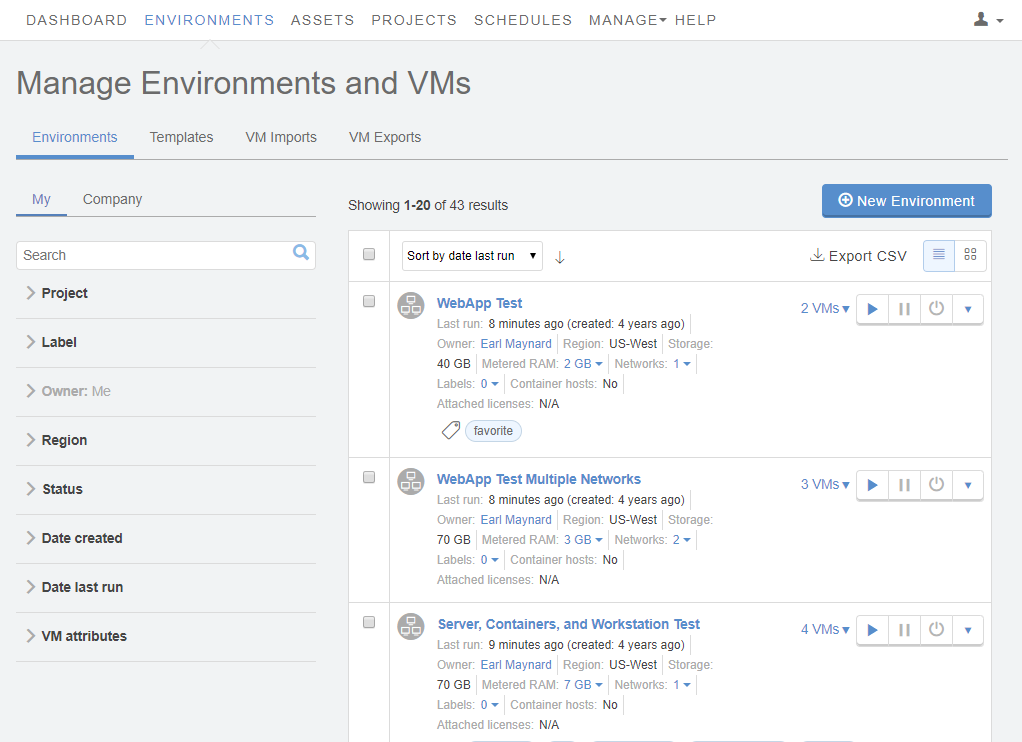
In the navigation bar, click either Dashboard or Environments.
-
Click
 (New Environment). The Create a New Environment window displays.
If this button isn’t visible, you may be a restricted user A user role with limited permission to view and create resources in Kyndryl Cloud Uplift. To learn more, see User roles and access permissions. with limited or no permission to create environments. Try the instructions at Creating an environment from a template in a project (restricted users).
-
To display the public templates, click Kyndryl Cloud Uplift. Alternately, to display templates that have been shared with you, click Company.
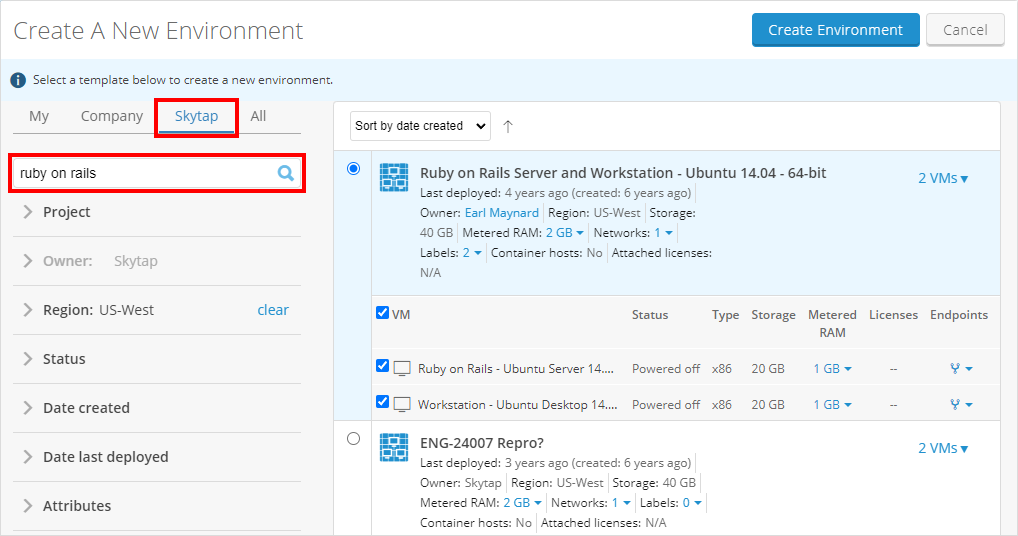
- To search for a specific template, type the template name in the search box. To locate Ruby on Rails templates, type Ruby on Rails. Press Enter.
- Click the name of a template to select it. If your account has access to multiple regions, you’ll see multiple copies of this template, one for each region A data center located in a unique geographic area. When you upload an asset or import a VM, you must specify its region. To learn more, see Understanding regions. . For the best performance, select the template in the region closest to your physical location.
- Click
 (Create Environment). Your new environment displays.
Using the environment
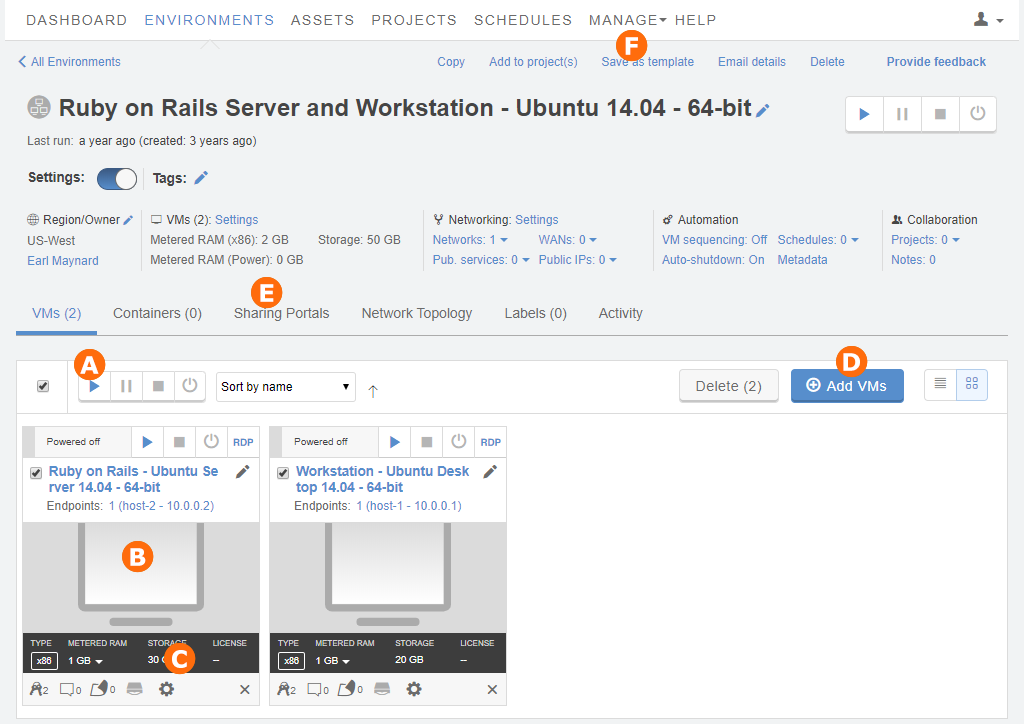
Once the environment is created, there’s a lot you can do. For a full description of the environment options, see Environment Details page. Some common tasks are described below.
Use the VMs
 Click
Click  (Run) to power on the VMs. The VM tile background color changes from gray (inactive), to blue (busy), and then to green (running).
 When a VM is running, access its desktop by clicking the thumbnail image of the VM screen. This opens the Secure Remote Access (SRA) browser client, which lets you interact with the VM. For other ways to access a VM (for example, over RDP Remote Desktop Protocol – A proprietary protocol that allows you to access and interact with another computer using a graphical interface. This protocol was developed by Microsoft and is commonly used to access Windows VMs. By default, RDP connects over TCP port 3389. or SSH), see Accessing VMs. When you’re done, shut down or suspend the VM.
Customize the environment
 Change the VM hardware settings (RAM, CPU, keyboard mappings, etc.), network adapters (NICs), or networks. By default, the environment contains an isolated, default network that automatically assigns a hostname, IP address, and MAC address to each VM.
 Add VMs from other environments or templates. You can even add a copy of a VM from the current environment.
Share the environment
 Create a sharing portal to share all or some of the environment with someone who doesn’t have an account in Kyndryl Cloud Uplift. To share the environment with another Kyndryl Cloud Uplift user, add the environment to a project.
Save the environment
 Create a template based on the current environment. The template includes the environment network settings, VM settings, and OS and application process states. Templates can be used as backups, restore points, or golden templates for classrooms and dev/test environments.
Next steps
Take Kyndryl Cloud Uplift training
Take our free, introductory courses at Kyndryl Cloud Uplift Polytechnic. These courses cover everything you need to get started in Kyndryl Cloud Uplift.
Browse the User and Administrator Guides
- The User Guide contains detailed information about creating, editing, sharing, and managing your virtual environments.
- The Administrator Guide contains additional information for administrators about creating and managing users, monitoring and controlling usage, and securing the account.
Learn more about Kyndryl Cloud Uplift for dev/test
If you use Kyndryl Cloud Uplift to create development and test environments, check out these popular articles:
Learn more about Kyndryl Cloud Uplift for training and demos
If you use Kyndryl Cloud Uplift for training or software demos, check out these popular articles: