Adding and removing resources for a project
Choose templates, environments, and assets to share with project users and remove old resources when they’re no longer necessary.
Contents
Adding environments, templates, and assets to a project
After you create a project, you can add environments, templates, and assets to it. These resources are shared with the users you add to the project.
Notes
- You can add resources that you own, public resources, and resources from other projects where you're an editor, manager, or owner.
- Only project editors, managers, and owners can add resources to the project.
To add environments
-
Navigate to the project details page.
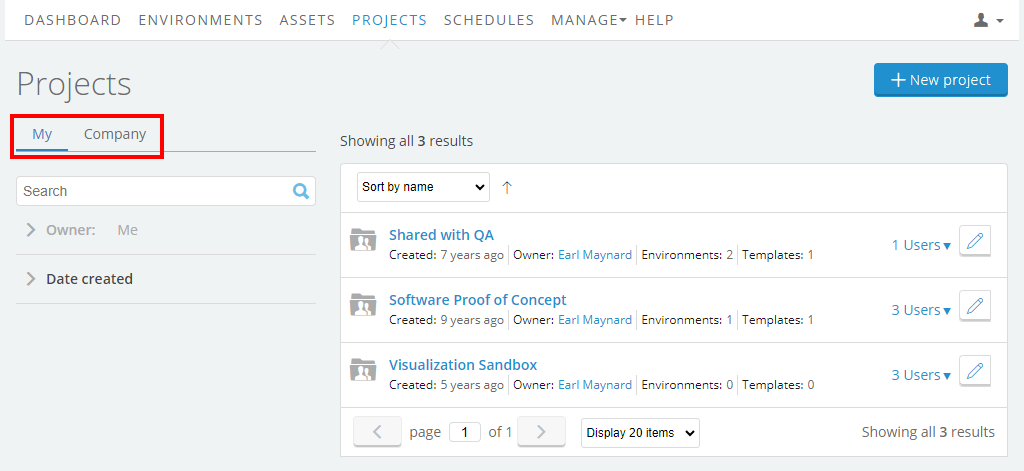
- From the navigation bar, click Projects. The Projects page displays.
- Click My to display a list of the projects you own, or Company to display the projects you’re a member of.
-
Click the name of the project. The project details page for this project displays.
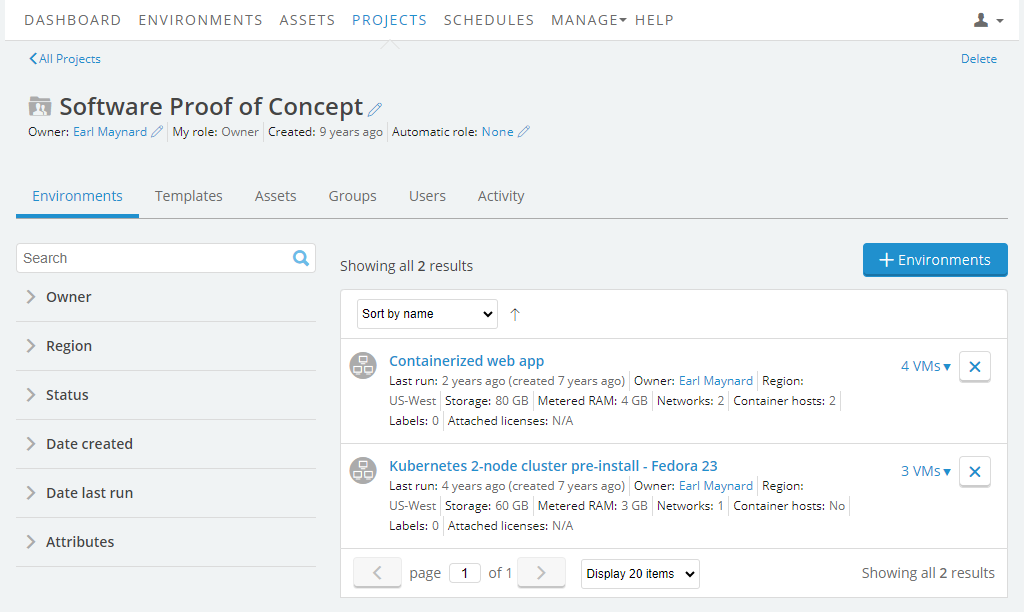
- Click the Environments tab. A list of the environments that belong to the project displays.
- Click
 to display a list of available environments.
 - Click Add next to the environments you want to add it to the project.
-
When you’ve finished adding environments to the project, click

There is no limit to the number of environments that you can add to a project.
To add templates
-
Navigate to the project details page.
- From the navigation bar, click Projects. The Projects page displays.
- Click My to display a list of the projects you own, or Company to display the projects you’re a member of.
-
Click the name of the project. The project details page for this project displays.
- Click the Templates tab. A list of the templates that belong to the project displays.
- Click
 to display a list of available templates.
 - Click Add next to the templates you want to add it to the project.
-
When you’ve finished adding templates to the project, click
There is no limit to the number of templates that you can add to a project.
To add assets
-
Navigate to the project details page.
- From the navigation bar, click Projects. The Projects page displays.
- Click My to display a list of the projects you own, or Company to display the projects you’re a member of.
-
Click the name of the project. The project details page for this project displays.
- Click the Assets tab. A list of the assets that belong to the project displays.
- Click
 to display a list of available assets.
 - Click Add next to the assets you want to add it to the project.
-
When you’ve finished adding assets to the project, click
There is no limit to the number of assets that you can add to a project.
Resources can also be added to projects from the resource list pages.

Removing resources from a project
To remove a resource
-
Navigate to the project details page.
- From the navigation bar, click Projects. The Projects page displays.
- Click My to display a list of the projects you own, or Company to display the projects you’re a member of.
-
Click the name of the project. The project details page for this project displays.
- Click the tab for the type of resource you want to remove:
- Templates – A list of the templates that belong to the project displays.
- Environments – A list of the environments that belong to the project displays.
- Assets – A list of the assets that belong to the project displays.
-
Click
 next to the resource that you want to remove.
Removing a resource from a project doesn’t delete the resource; it’s still available for use.
How project membership is saved in environment and template settings
In general:
- Project membership is applied when you copy an environment or template in a project. The new environment or template is automatically added to the same project (assuming you have permission to add resources to that project).
- Project membership isn’t automatically applied when you create an environment from a template in a project or save an environment in a project as a template. The new environment or template can be manually added to the project using the directions above.
To retain project membership in an environment created from a template in a project
-
Navigate to the project details page.
- From the navigation bar, click Projects. The Projects page displays.
- Click My to display a list of the projects you own, or Company to display the projects you’re a member of.
-
Click the name of the project. The project details page for this project displays.
- Click the Templates tab.
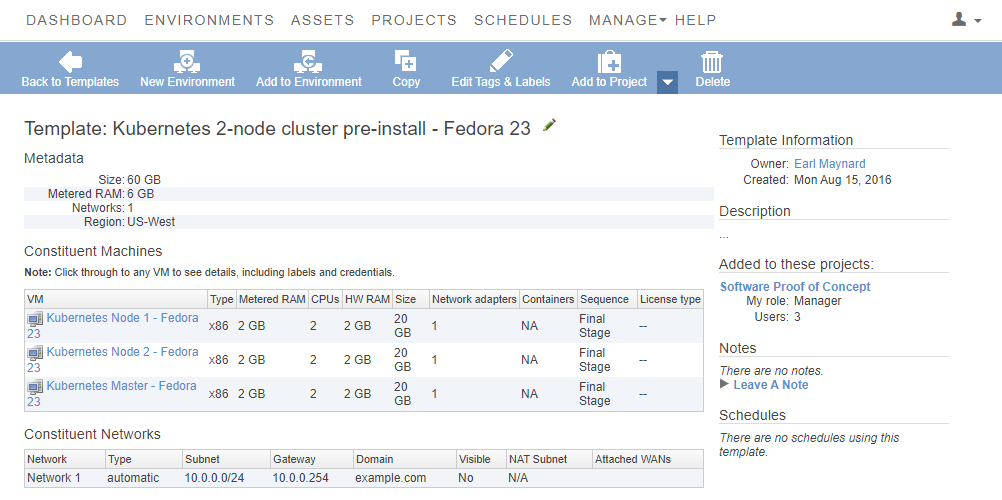
- Click the name of a template. The template details page displays.
- Click New Environment.
See also
- For information about creating and deleting projects, see Create, edit, or delete a project.
- For information about adding and removing users for a project, see Adding and removing users in a project.
- For information about project roles, see Understanding project roles.